Pages

Friday, 19 April 2013

marmalade

cooking secret no. 1

I know it's not exactly marmalade making season, and I know this is not the way devoted marmalade makers make marmalade. I would be a devoted marmalade maker, had I a tree and copious amounts of oranges( as I did in another life) but I live in England, and I simply don't want to buy them. Having said that, I just wanted to share with you how I can still get my marmalade making fix.

I once bought what I thought was a large can of orange marmalade, but when I opened the tin at home I found that I had actually bought a can of orange pulp used to make the marmalade. So I did and now I never buy marmalade from a shop. And that is how I have come to be making my own marmalade ever since - from a tin! So this is how I make it. It's terribly simple. You take one can,


and then open it:

the hardest part - opening the can

Then you pour the contents into a large saucepan and add three quarters of a pint of water (which is conveniently measured on the inside of the can) and add, wait for it, 1.8kg of sugar. That's an awful lot of sugar! But I make it with 1.5kg sugar - I prefer a less sweet marmalade. I even kid myself it's healthier.
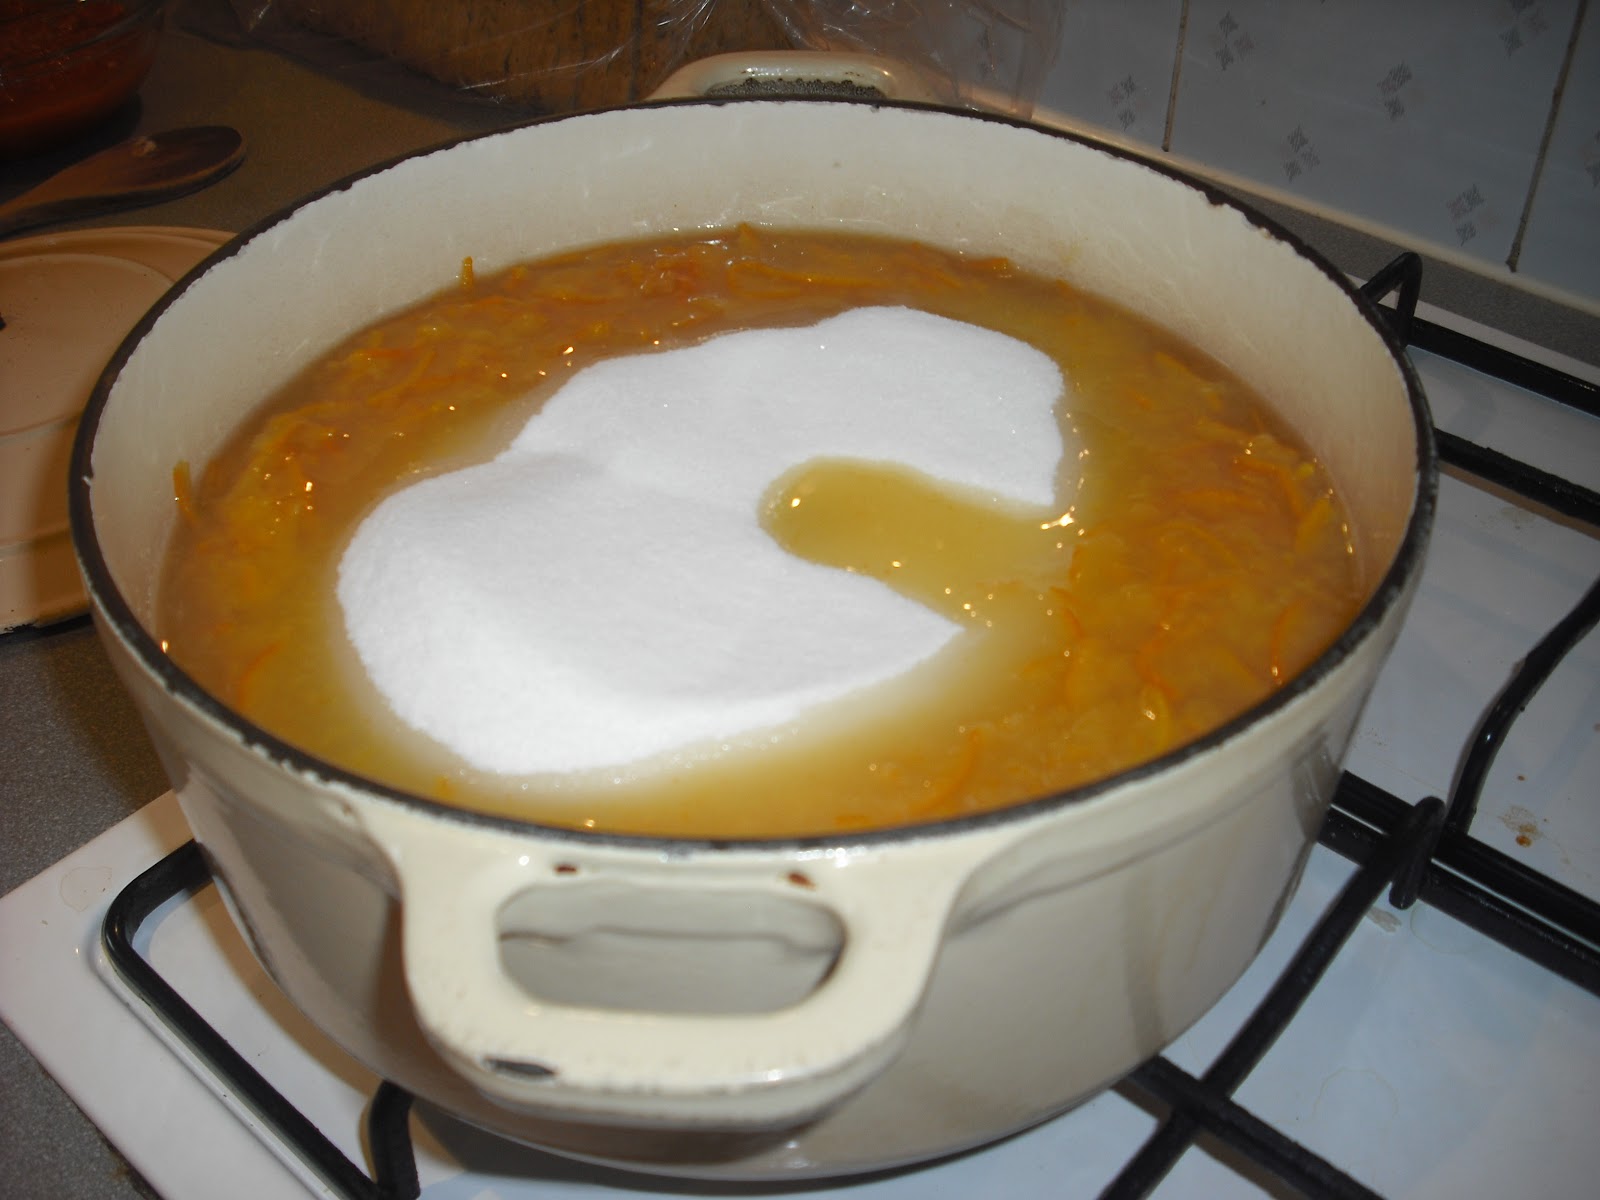

sugar dissolving in 3/4 pint water with orange pulp

Anyway, pour the 1.5kg of sugar into the same pan and then proceed to heat until it is boiling.
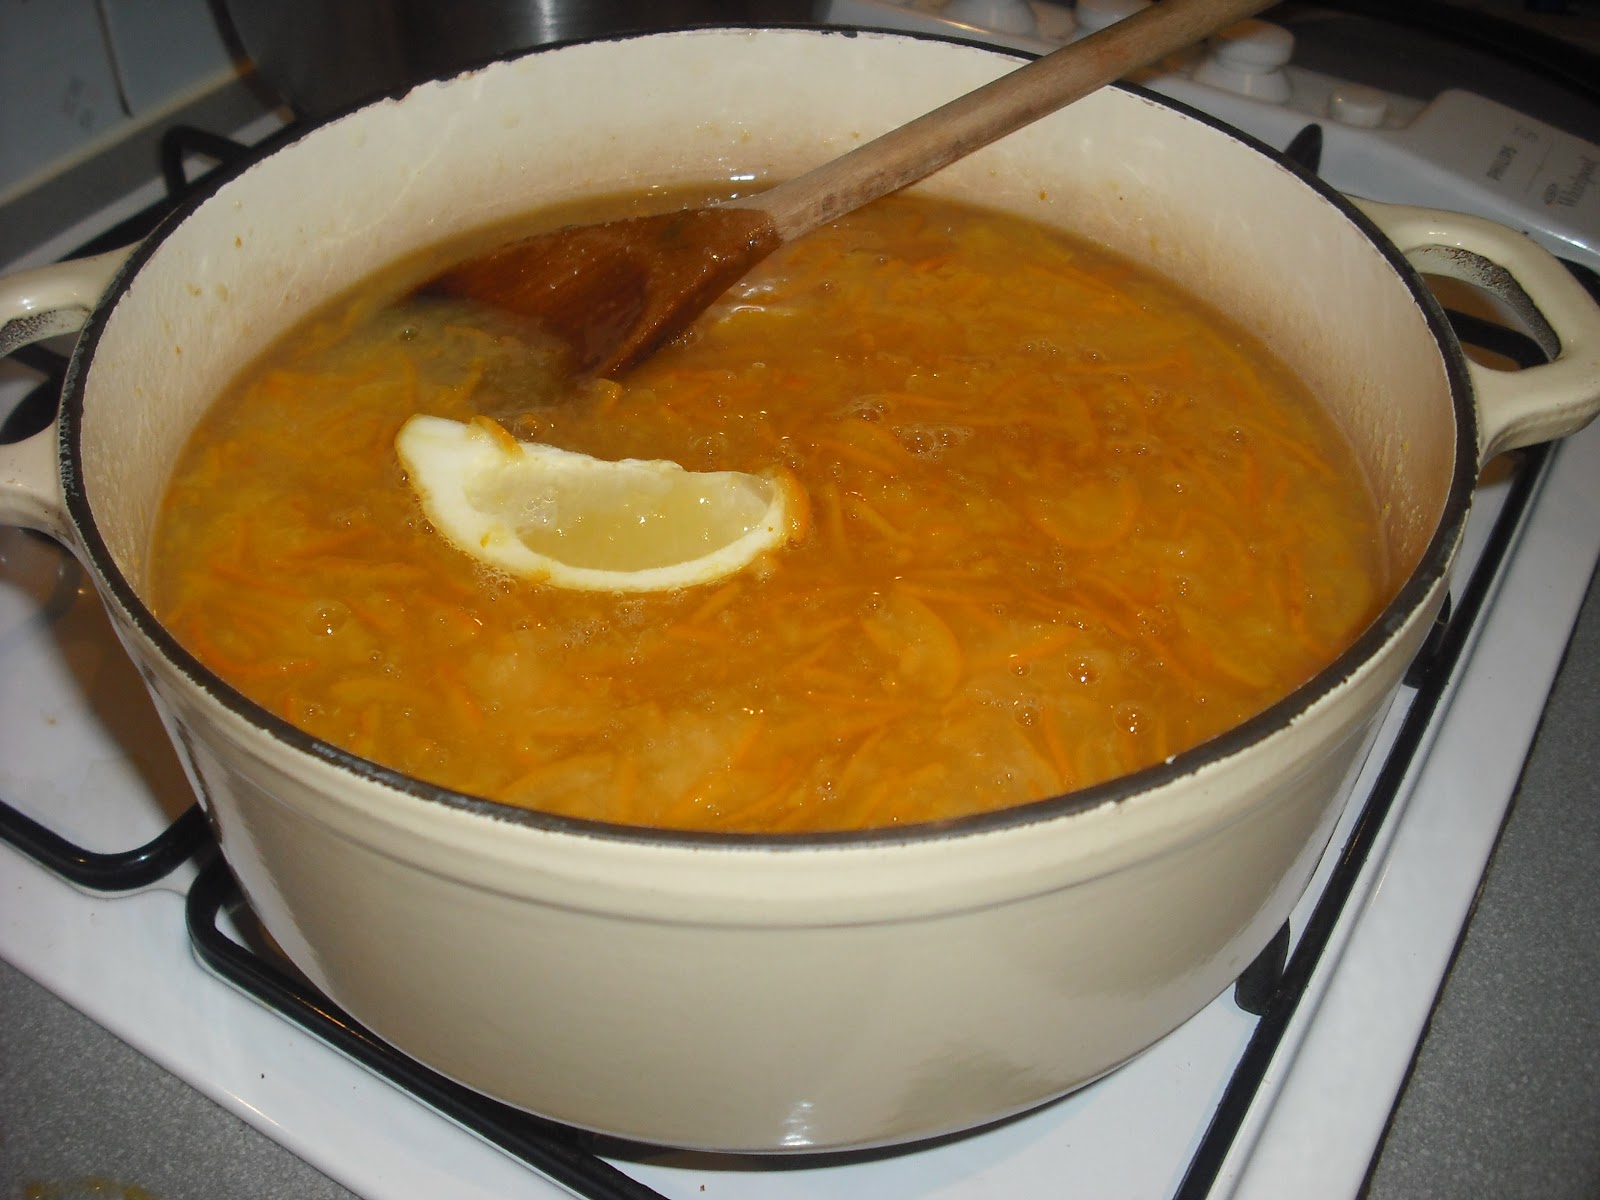

(As you can see, I added a lemon whilst it boiled, for added pectin, I think, and a little tartness.)

Once boiled (and don't walk away from it because it will do what it did to me and boil right up and over the pot),
simmering marmalade
turn the heat down and simmer for another 15 minutes or until the jam 'wrinkles'. This happens when a spoonful is placed onto a saucer and let to sit for 2 minutes, and then a spoon is dragged through the middle of the pool of hot jam. If it wrinkles, then it is ready.

Leave for a couple of minutes, then pour into the prepared jars. In my case, I collect screw-top jars and first wash and then pour boiling water into them until ready to fill. This sterilises the jars.

Et voila. Six jars of home-made marmalade, without the fuss of cutting up all those oranges. Genius.


We love this marmalade, and prefer it to shop bought! And it's cheap. Each jar comes to about 30 pence, which ain't much at all.

Saturday, 6 April 2013

olive oil bread

olive oil bread
Bourke Street Bakery
Paul Allam & David McGuiness


It's the weekend and that means more time for slow bread baking. Today I baked olive oil bread, as well as more sourdough. I wanted to have the bread ready for some warming soup because we are still in the grips of Winter here with temperatures not rising above 4-8 degrees C this week. Where's Spring? To be fair, it is a sunny day and it has amazingly lasted ALL day!

Anyhow, this olive oil dough was easy peasy to make. All ingredients went into the mixing bowl - the only difference in this dough to a usual dough was the addition of a little olive oil and milk - mixed very well for about 6 minutes. The result was a smooth, elastic dough:


Then it needed 1.5hrs of proving, with two knock backs at each half hour. After the second proving the dough looked like this:


After 1.5hrs the dough was divided into two pieces, each weighing 500g. The leftover 35g or so was put in a lidded plastic box and into the fridge until next use when it will be used as a 'ferment'.


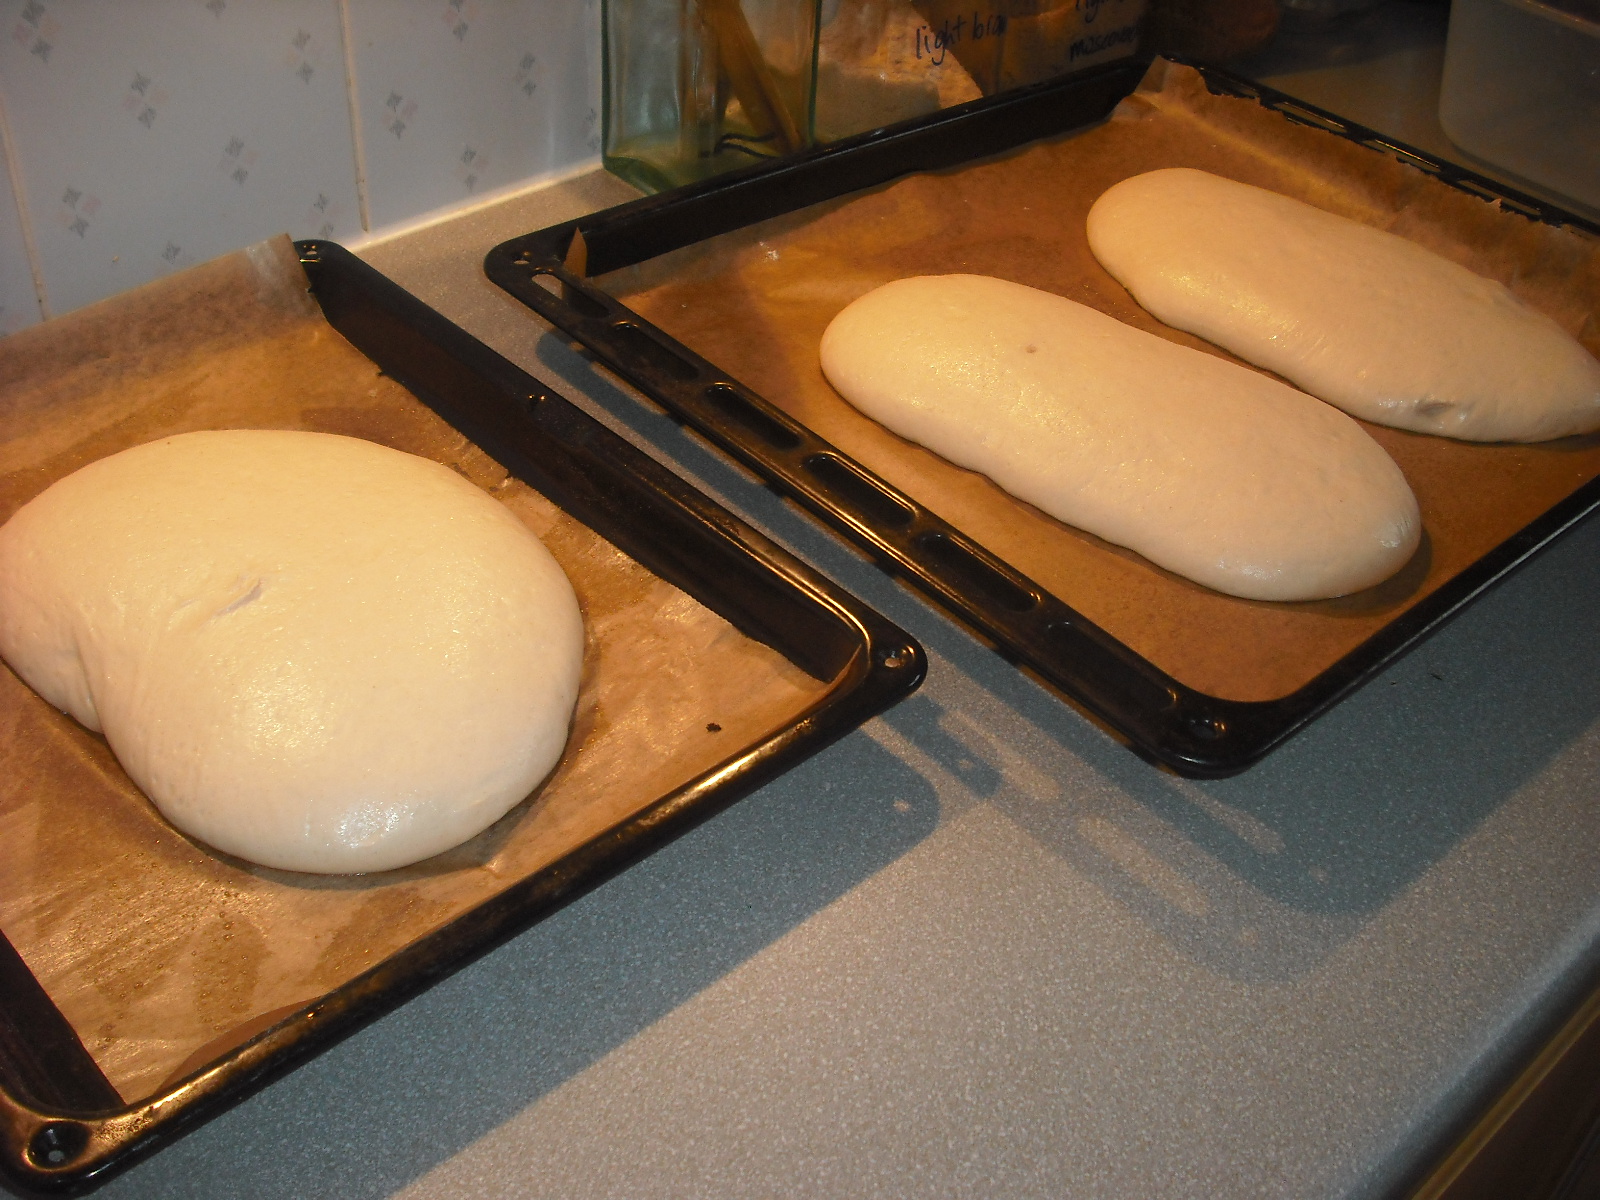
These were covered loosely in cling film and after an hour they had doubled in size, until I tried to take the cling film off and mistake number one happened: I didn't flour the loaves beforehand and the plastic stuck so bad to the dough I had to tear it off, thus deflating my beautifully risen loaves:


Wah! So I floured them liberally and upended a large baking dish over them and let them rise a bit more:


Then it was into the oven for 20 minutes at 200 deg C.

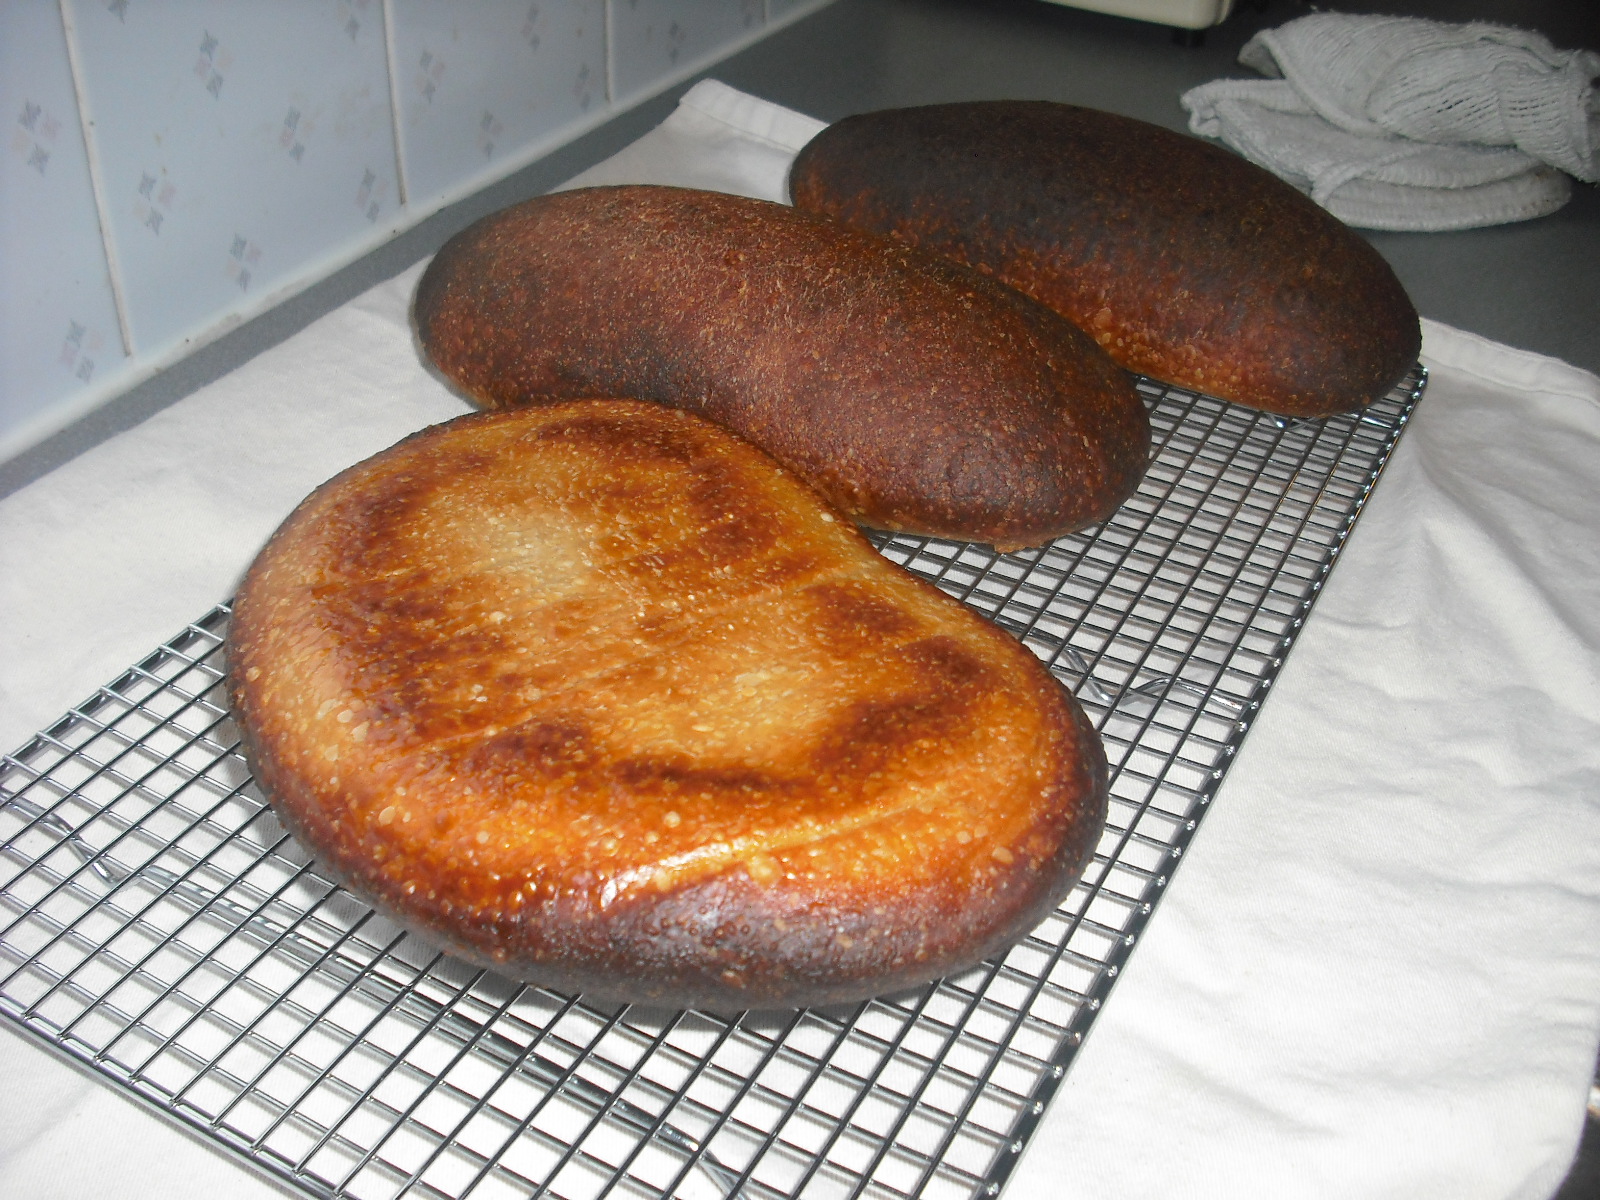
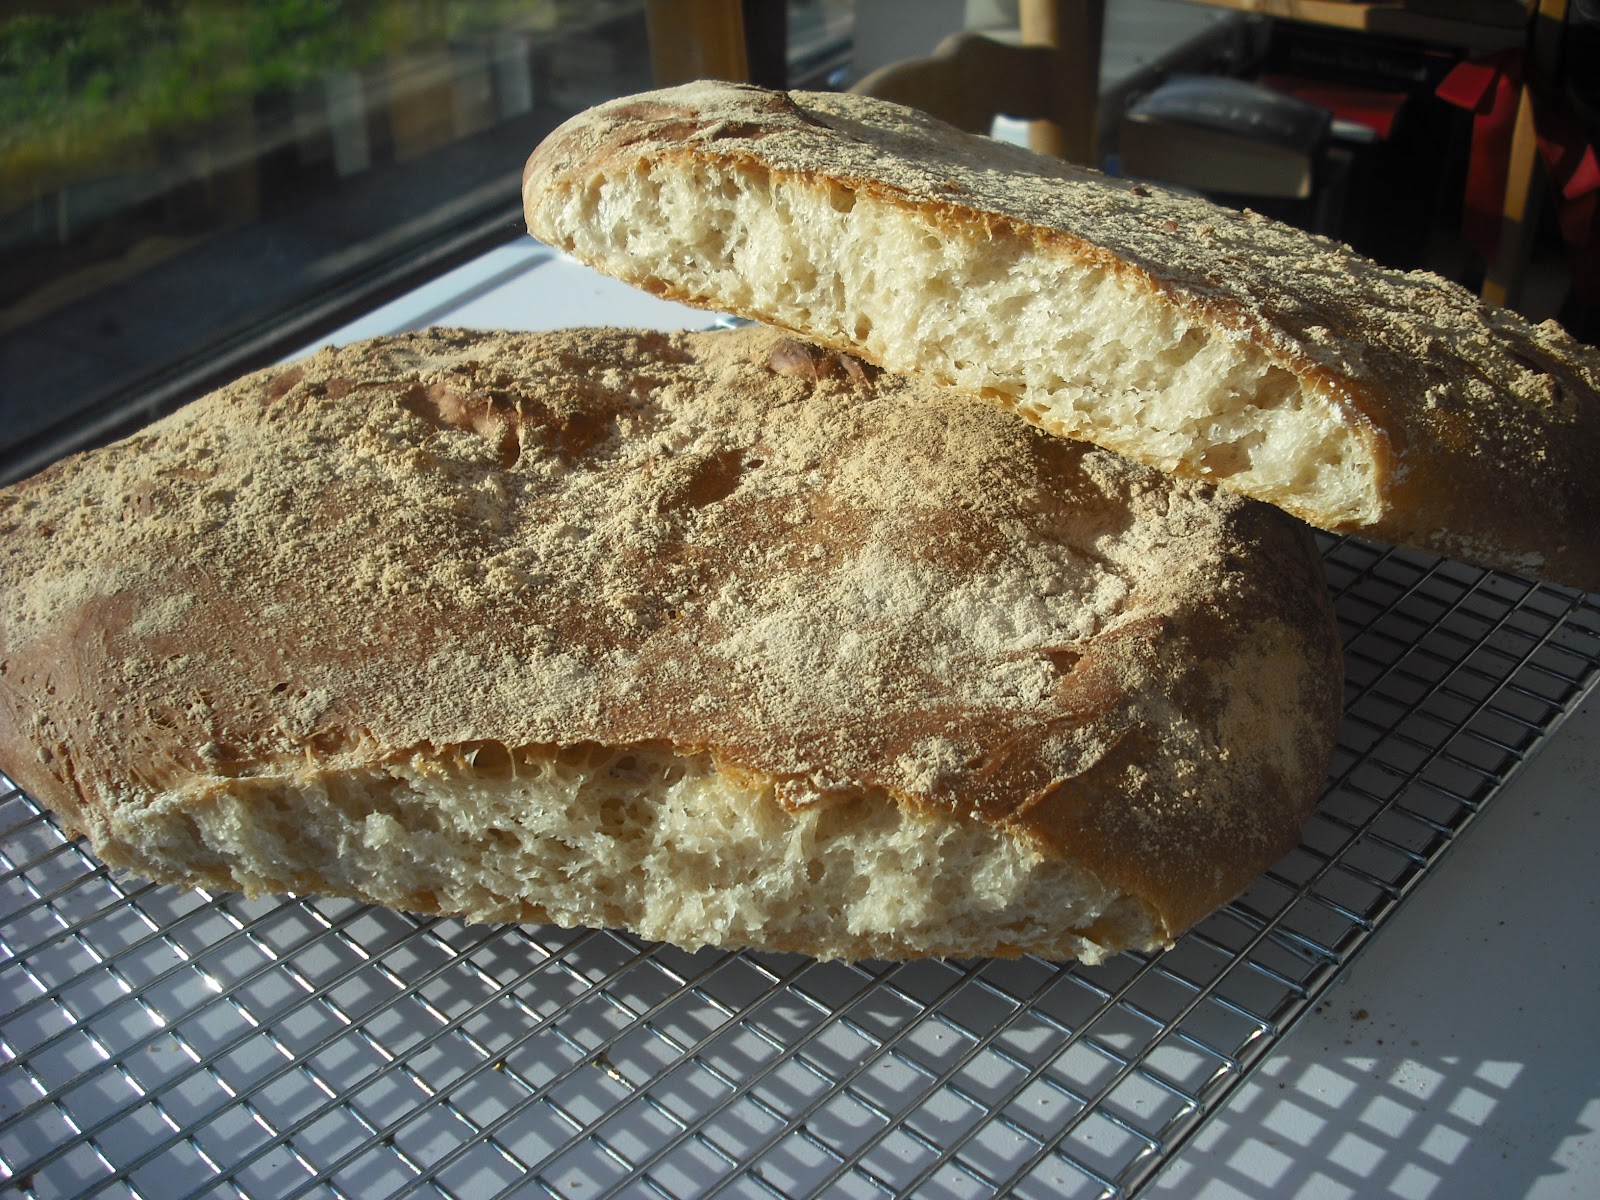
And this is how they came out:


The smell was great. You could really smell the extra virgin olive oil.


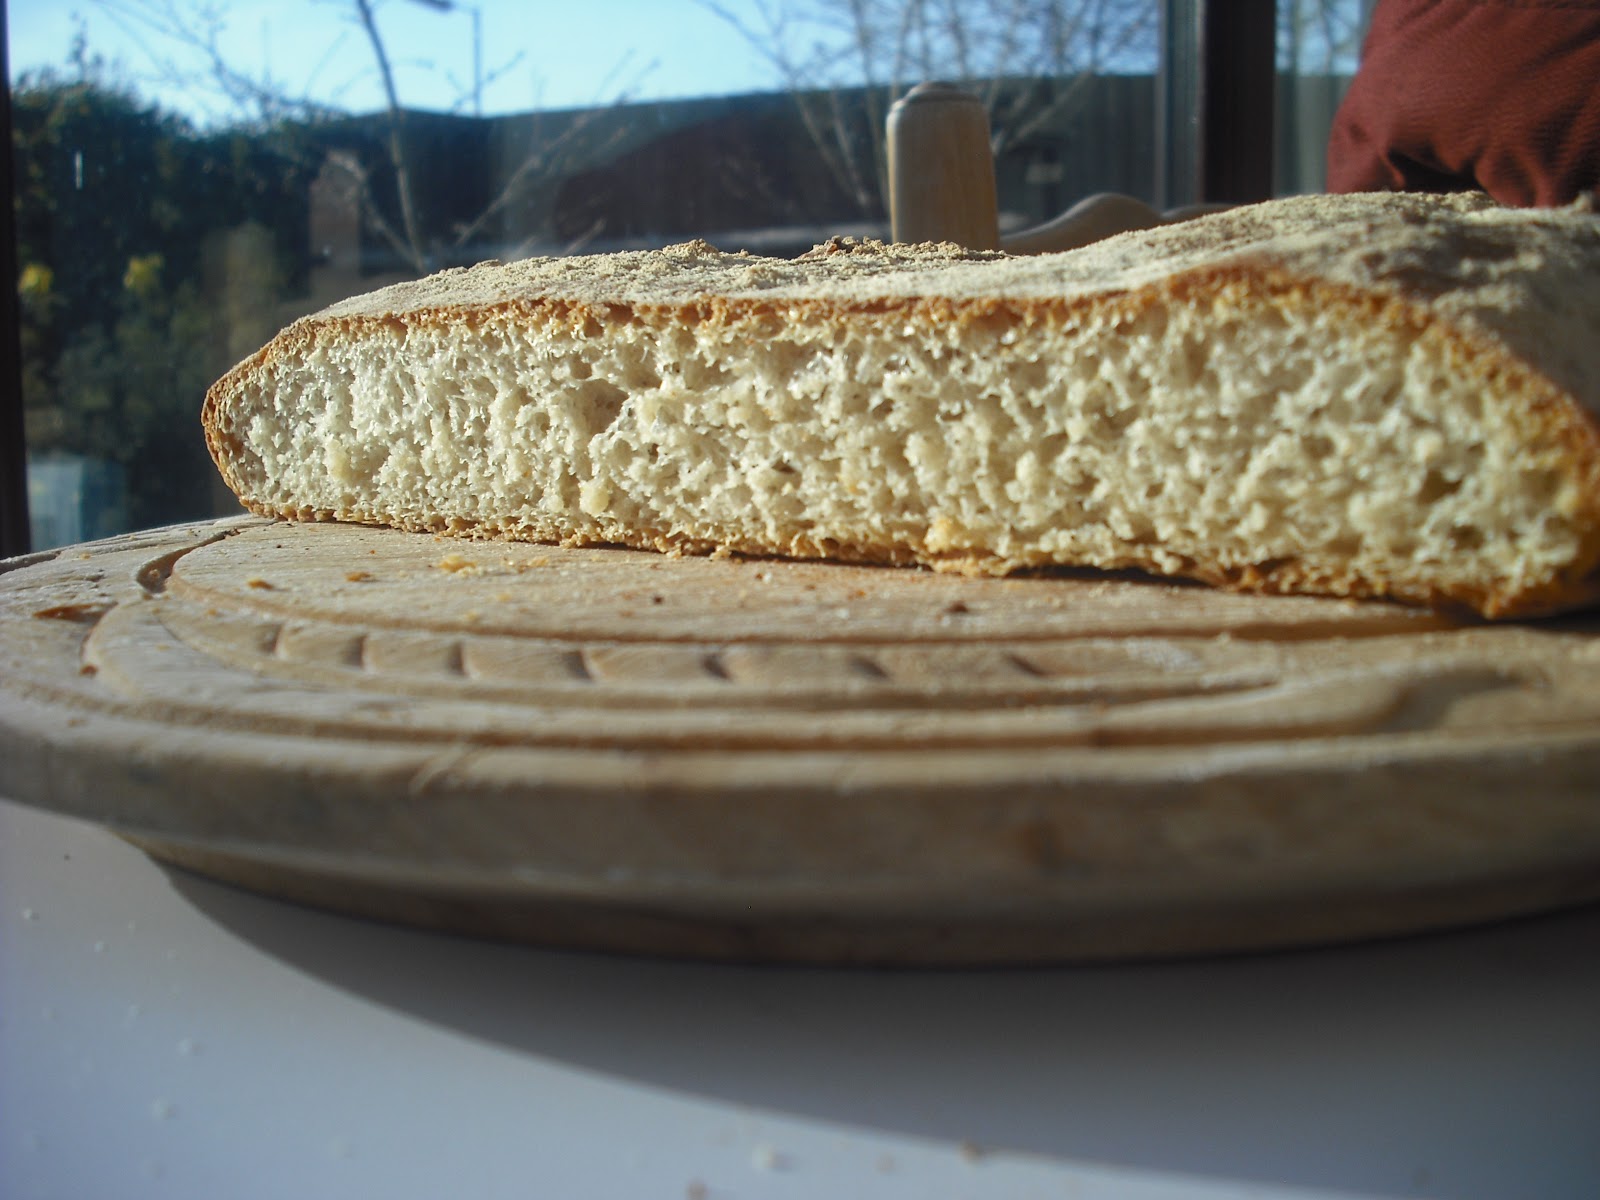
Once cut, the crumb was lovely and open and the texture was crisp base and crust and soft and light crumb.


verdict: a definite 'thumbs up' with this bread. It was super easy to bake and I'm sure would have looked even better had I not stuffed up the plastic covering stage, ie not flouring the dough on top before covering with cling. But everyone loved this bread and I will definitely be baking it on a regular basis.
 
who can bake this? I would have to say that even someone who hasn't baked bread before can bake this loaf. It doesn't require any tricks or long proving. Well, I don't think it is long proving; others may disagree but all up it took no more than two hours from start to finish.
 
A great loaf, especially with good olive oil to dip into.
 
olive oil bread
bourke street bakery, Paul Allam & David McGuinness

Saturday, 16 March 2013

chocolate coconut squares

Clarissa's Comfort Food
Clarissa Dickson-Wright

This is the sort of old-fashioned treat which is so easy, it belies the deliciousness of it. And it doesn't even need baking! Just pop it in the fridge for 30 minutes ... ready in no time at all.

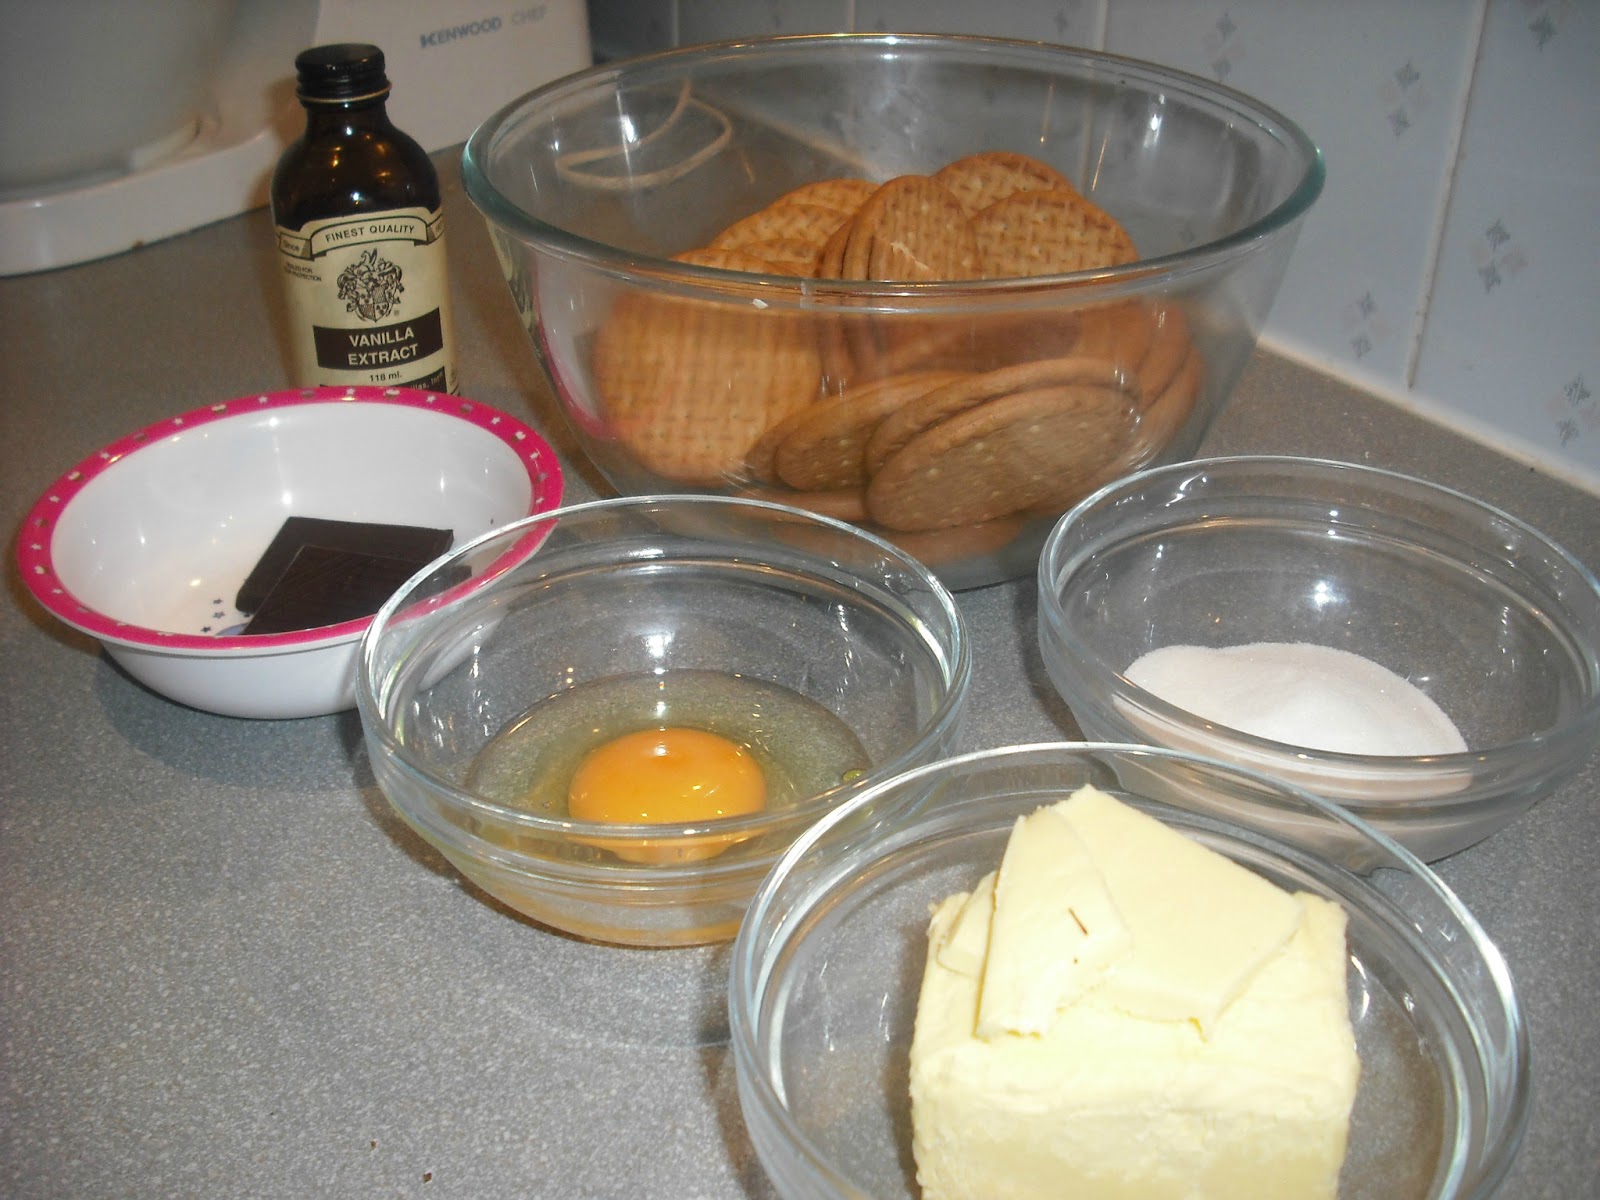
Butter, chocolate and sugar are melted over a low heat. Then an egg is whisked in, adding coconut and crushed biscuits, mixing thoroughly.


The mixture is poured into a shallow tin (mine was a bit too shallow) pressed out flat and placed in the fridge for about 30 minutes.

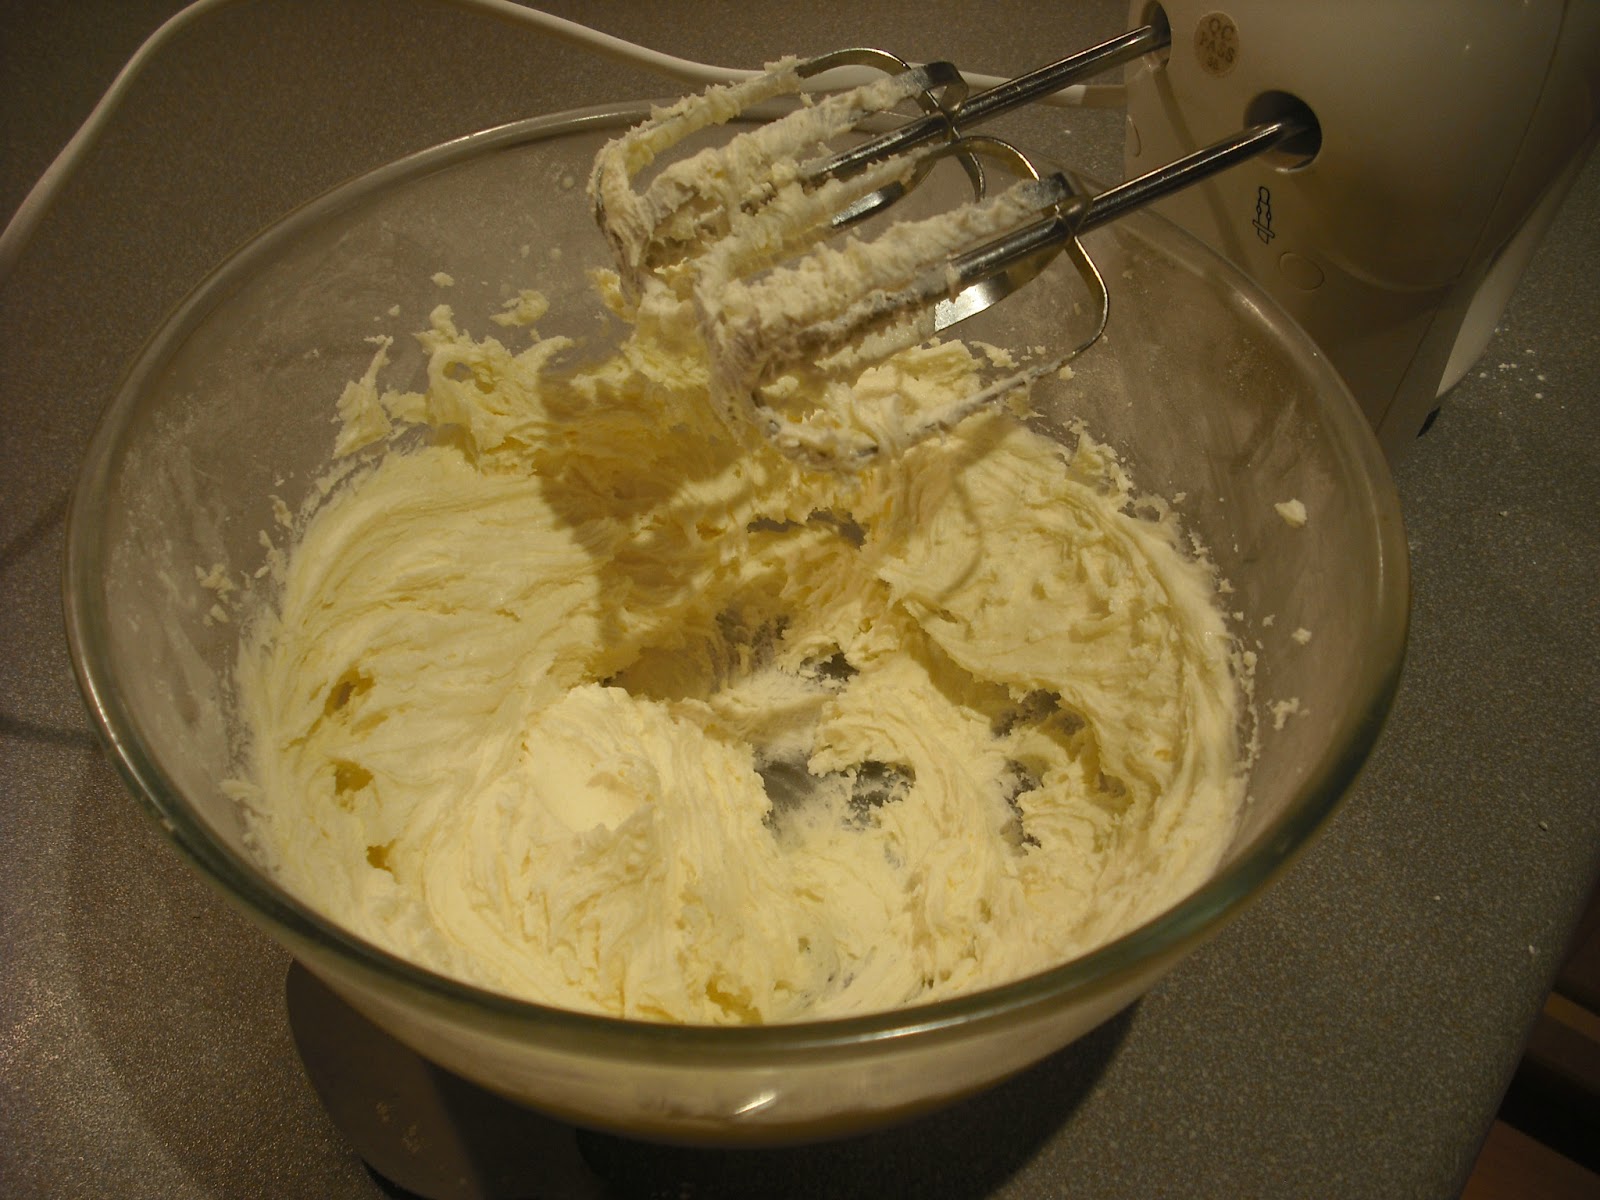
The icing is made with icing sugar, butter and cream.

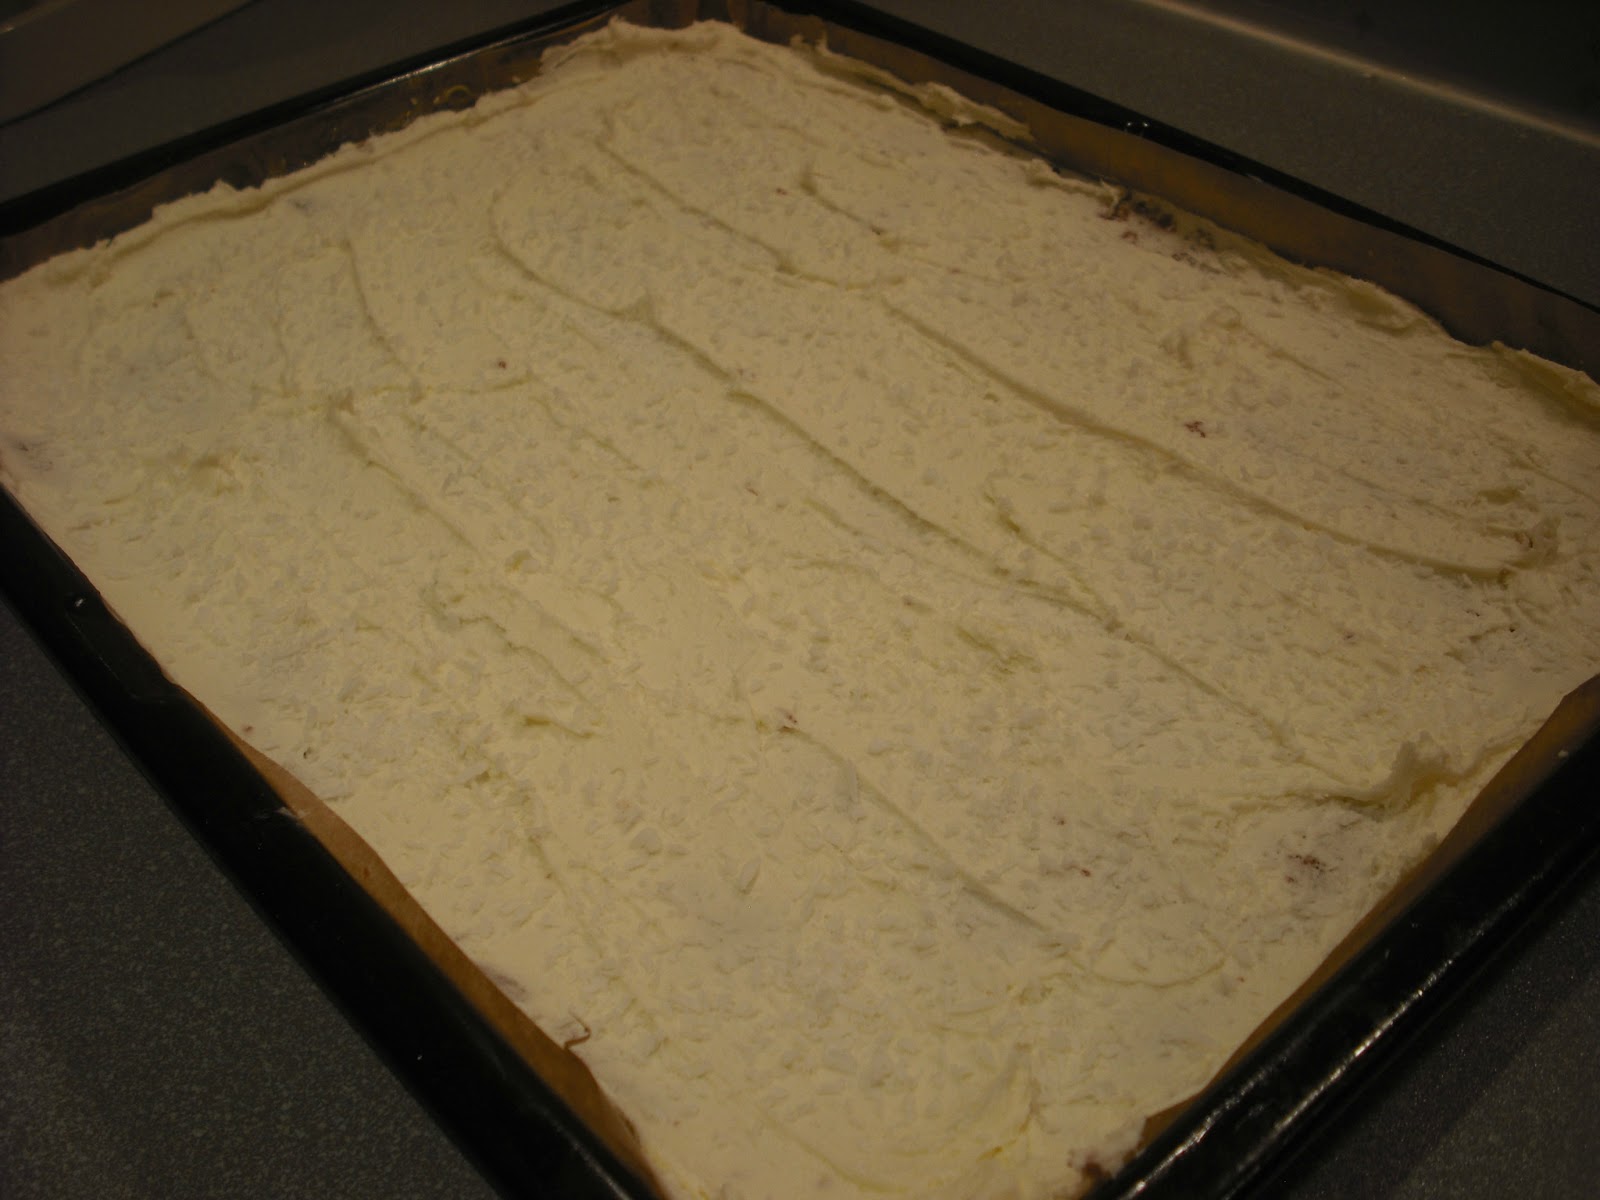
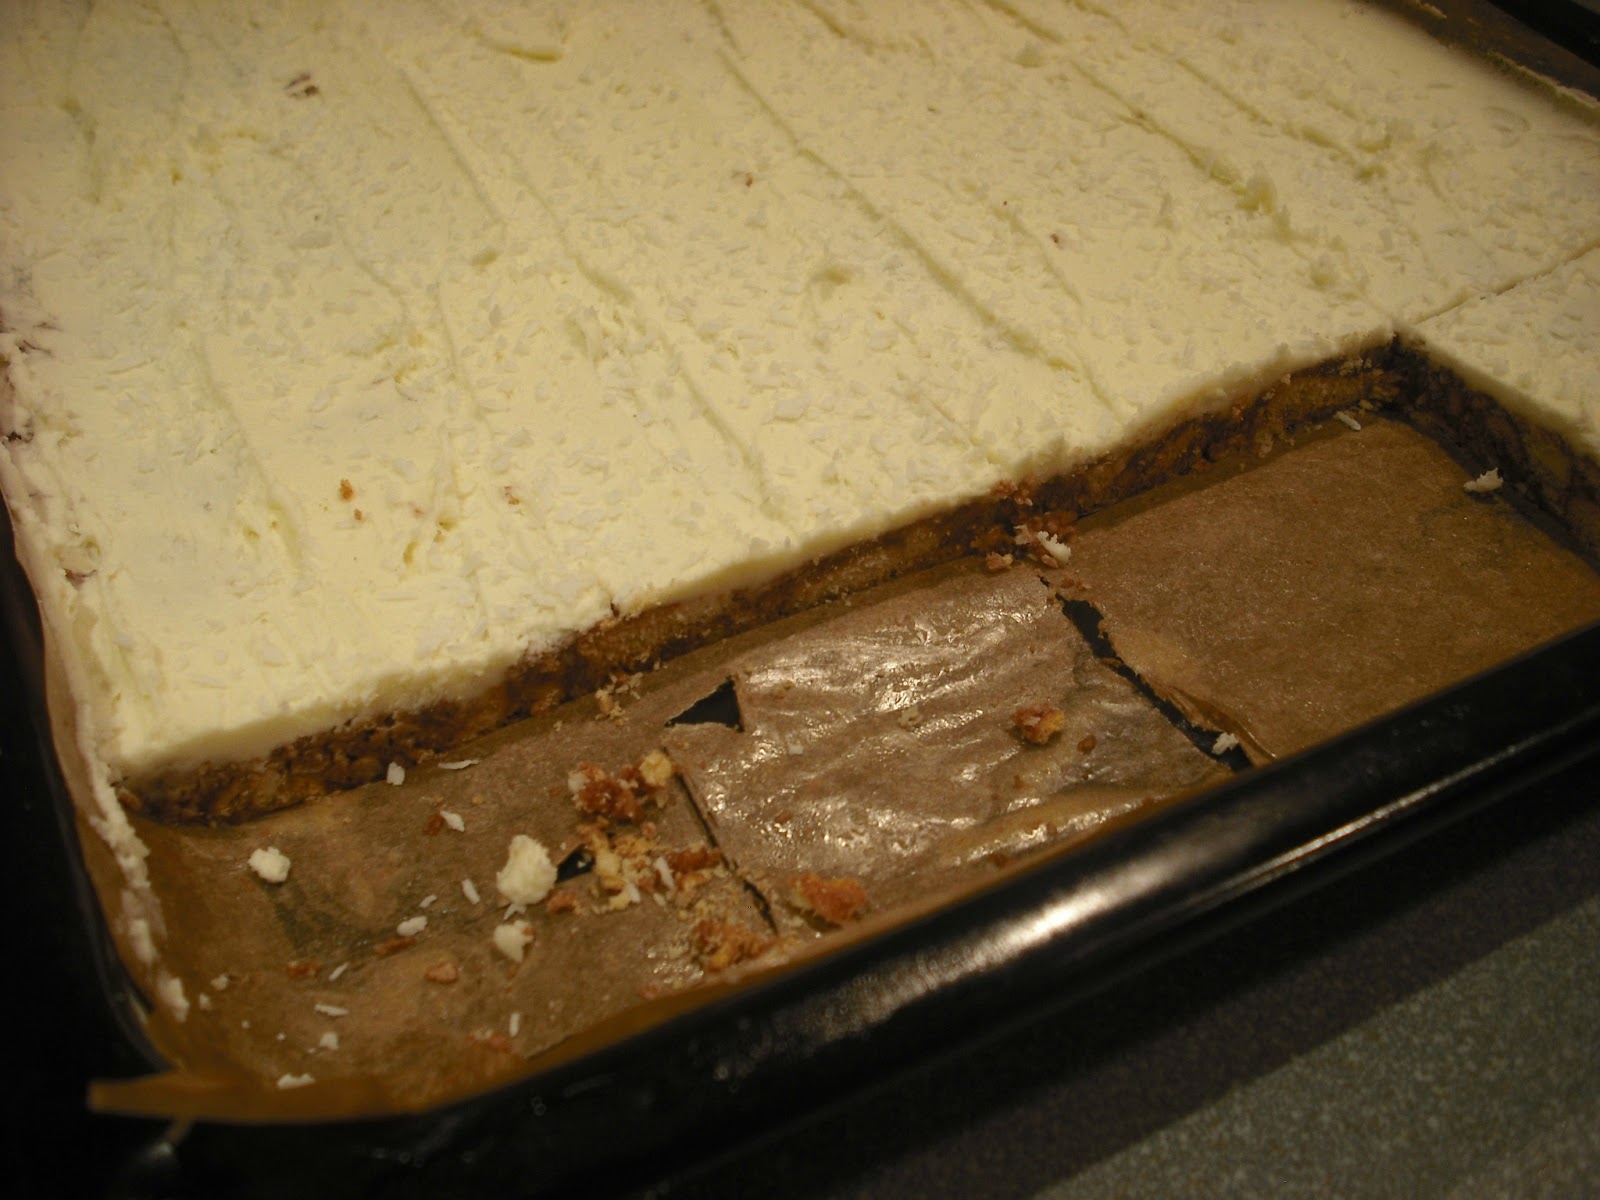
and then spread onto the chocolate base, and sprinkled with extra coconut.


Another half an hour in the fridge then it's ready to cut.


Sweet, crunchy, chocolate and coconut with vanilla icing.


Verdict: Excellent. Biting through the creamy sweet icing, the lovely vanilla & coconut flavours  mix with the crunch of the coconut and chocolate base. As there is no flour, the chocolate is rich but broken up by the plain biscuits so it is not sickly. The recipe calls for Digestive biscuits but I made them today with plain old Rich Tea biscuits (Maries) and I liked them better than the digestives. The less buttery biscuit counter-balanced the richness of the chocolate.

This is one of those recipes that a beginner can easily attempt, be they a small person so young they need to stand on a stool, or someone to whom you could introduce baking (like your errant teenager). Either way, it is a quick recipe to master (great for low attention spans) even on the first attempt. Could easily become a well-loved family fave as well.

As far as the book is concerned, Clarissa Dickson Wright is a proper food lover, who cares deeply about the food and not a jot for celebrity. She would probably hate the idea of being called a 'celeb'. If you've never heard of her (where have you been?) look her up. She may not be your average 20-something starlet, but she's way ahead in her breadth of food knowledge and head and shoulders above all those mediocre, instant TV chefs. All her recipes are simply written and easy to follow. And the photographs are beautifully un-arty, if you know what I mean. Like Clarissa herself, what you see is exactly what you get.

(I will make more new recipes at a later date, but one which I have made at least a dozen times is her Beef Stew. It's fantastically warm and comforting, topped off with the fluffiest dumplings ever. Who doesn't like dumplings?).

Who can make this? little kids, big kids, people with no time. Great for picnics.

Clarissa's Comfort Food, Clarissa Dickson Wright, Kyle Cathie Limited, London, 2008

Saturday, 23 February 2013

potatoes

Since being married I have had the good fortune (or not) of moving house quite a few times over the years which has also entailed living in three countries. One thing has remained constant, though, and that is my love for cookbooks - I've never stopped buying them wherever I was living. Consequently, when buying a book I always wrote the date and where I was living at the time inside the front cover.  Thank goodness I've done this because when I open up a cookbook I'm immediately transported back to that particular time, the memories of that house and stage of my life.

I bought Clarissa's Comfort Food when I lived in an English house in the Berkshire Downs in 2008, the year this book was published. In the winter of living in that house the boiler broke down and for ten days we had no hot water and no heating. TEN whole days. Up until then, I had never in my life thought about heating and hot water. Needless to say, bathing in a hip bath made of about 15 kettles of boiling water, getting out if it to dry and dress as fast as possible because the bathroom was like the Arctic, for over a week, made me realise very quickly how I had taken these luxuries for granted for so long.

Clarissa's Comfort Food seemed to be apt for the time I lived in that house. It delivered exactly what it promised, particularly during that bloody cold winter. Each recipe I made was comforting, reminiscent of childhood dishes made by grandmothers, old-fashioned and timeless. This recipe for potatoes (which Clarissa says are great with roasted meat), is cooked slowly with cream and is the best of its type I've ever made. Truly.

The dish is simplicity itself and, like the entire book, reflects Clarissa's no fuss approach. Her writing is stylish, simple, witty and intelligent. She writes in the familiar way she speaks, interspersing fact with tale and anecdote, always entertaining and with just the right dose of sense and perspective. She's had a very interesting life and despite her background, never comes across as being superior or a know-all. She knows all when it comes to food, however, and I imagine she is not impressed by any food trends or fashions in dining. She brings food to the table precisely how it should be: simple, pared down and utterly delicious.
For this recipe, I used King Edward potatoes, double cream, tomatoes, thyme, butter, nutmeg and salt.

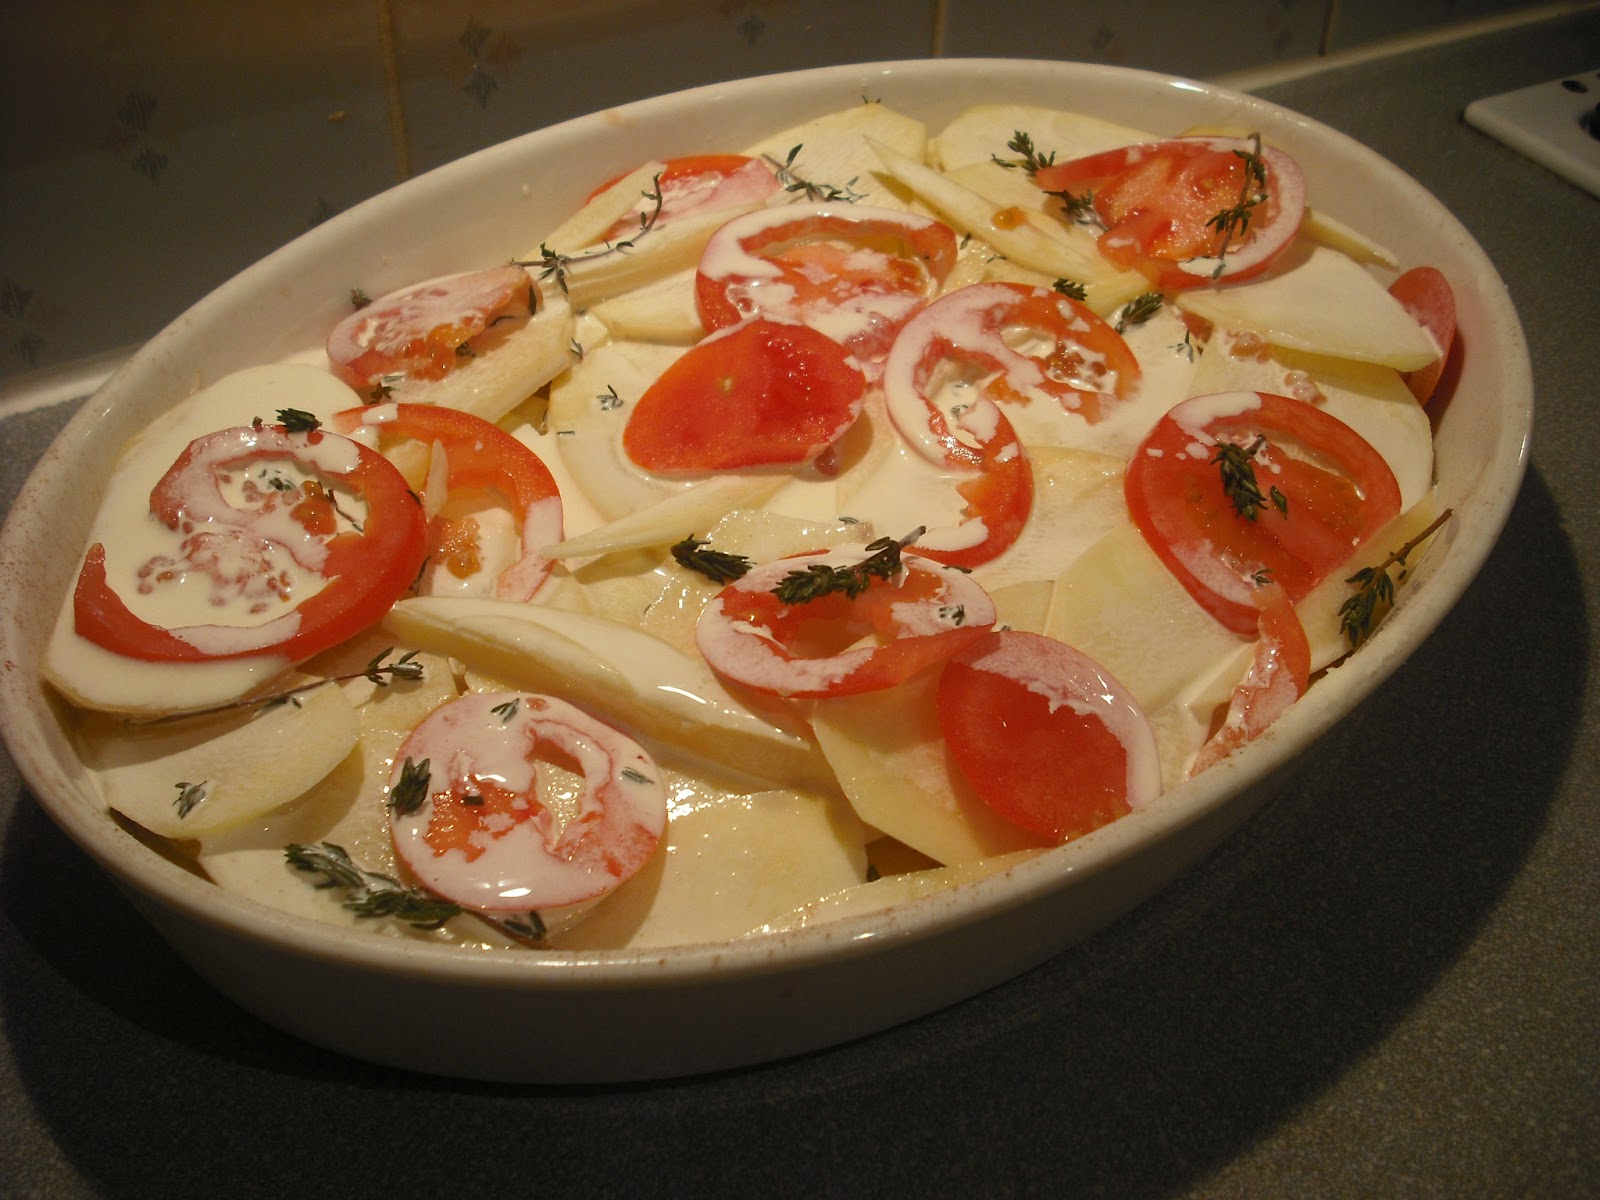
The potatoes were sliced thinly and washed well to remove the starch. They were layered, sprinkled with nutmeg, salt and pepper over each layer until the casserole dish was half filled, then half the cream was added.


Repeat layering of potatoes and seasoning then top with tomatoes and a few sprigs of thyme, finishing off by pouring the rest of the cream on top.

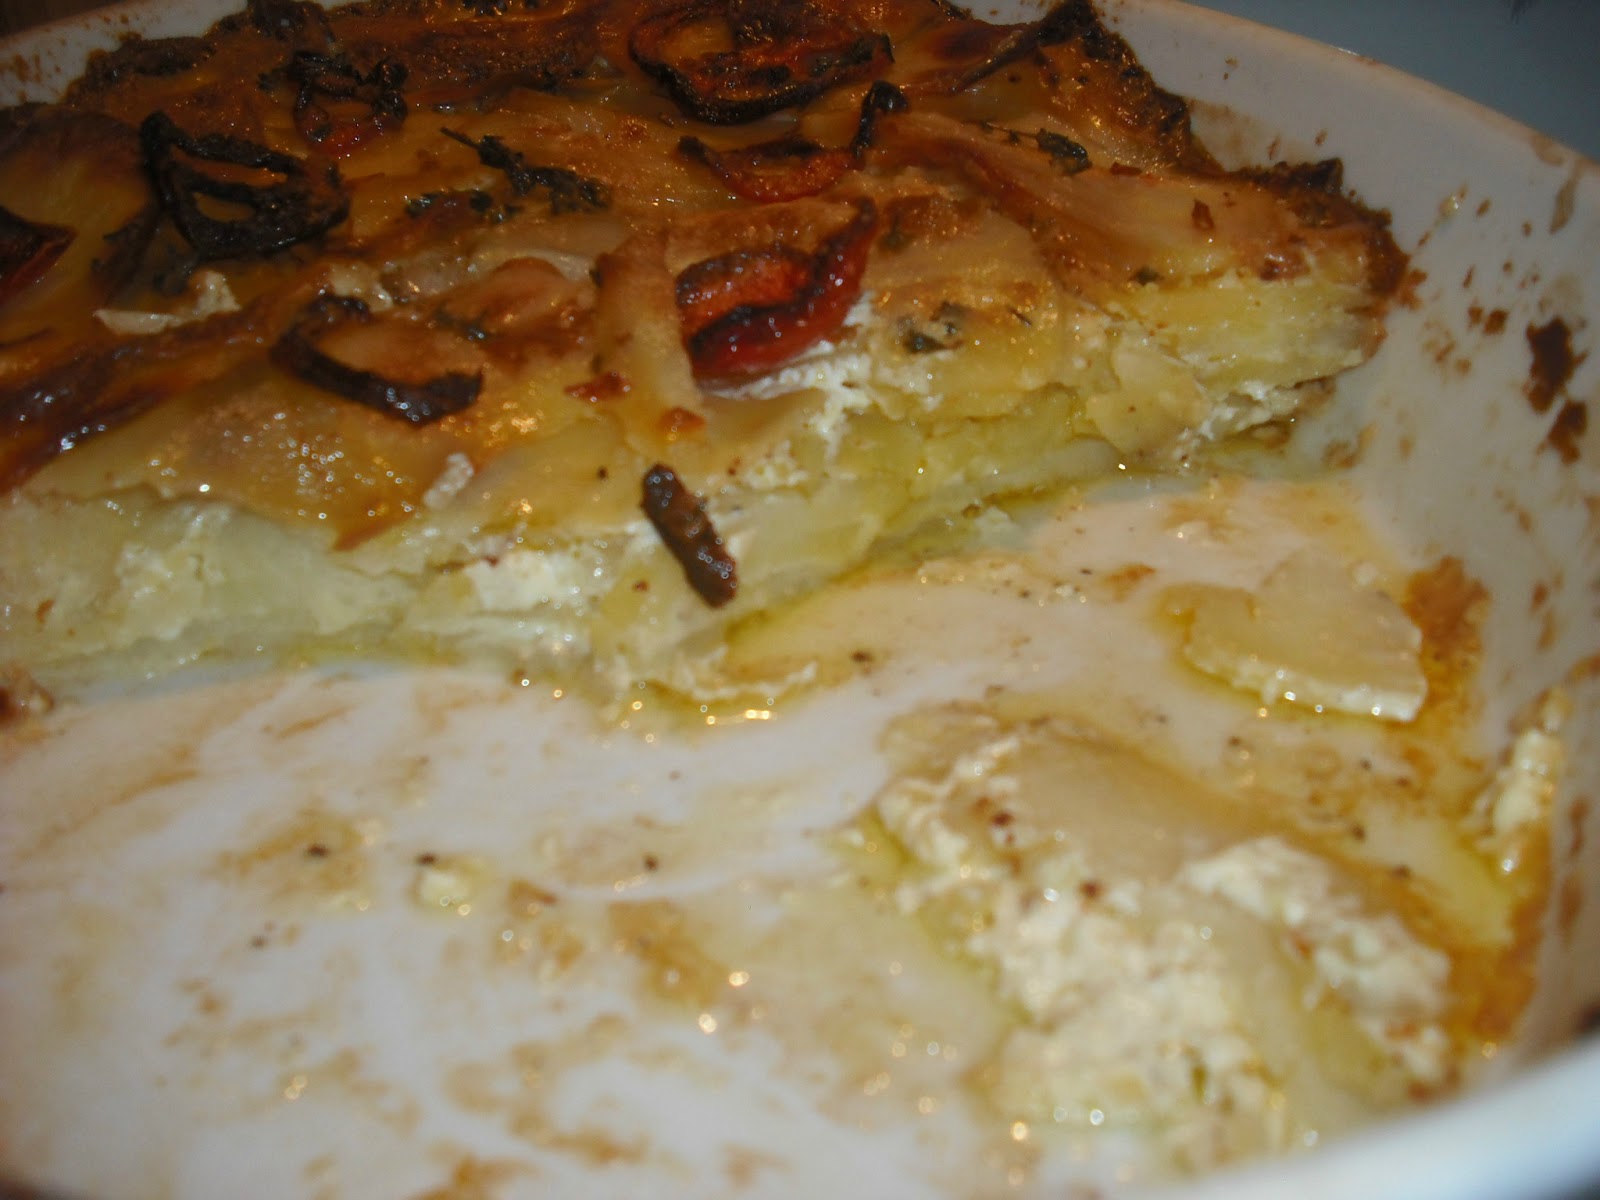
It is left to cook long and slow in a low oven and when cooked ... well, look at this:

My photos do not do justice to the utterly buttery creamy and delicious cheesy-like flavours from this slow cooked gratin. The double cream became soft and cheese-like in texture.


Verdict: Sublime. Truly. You can just see some of the white cream which has melded with the butter to produce a gorgeously soft cheese consistency and flavour. This was simple and so delicious. Even better than potatoes Dauphinois.

Who can make this? Anybody, as long as a grown-up slices the potatoes. Get the teenagers involved in helping with the Sunday roast.

pommes clarise
Clarissa's Comfort Food, Clarissa Dickson Wright, Kyle Cathie Limited, London, 2008

Sunday, 17 February 2013

cake


For some reason I have never been a big fan of coffee cake, until now. This is because I had never eaten a good one. The revelation came after eating this simple coffee cake from Lorraine Pascale, of whom I am now a devoted fan. The most important criteria for a cookbook is that the recipes work. After you buy a cookbook and attempt several recipes, finding them easy to read, straightforward to make, turning out well and most of all, tasting delicious, then you know you have discoverd a reliable author. And you stick with them, because the success of their recipes is your success.

But back to cake.

After preparing two sandwich tins with butter and paper, 3 tabs of coffee in one tablespoon of hot water are mixed first.

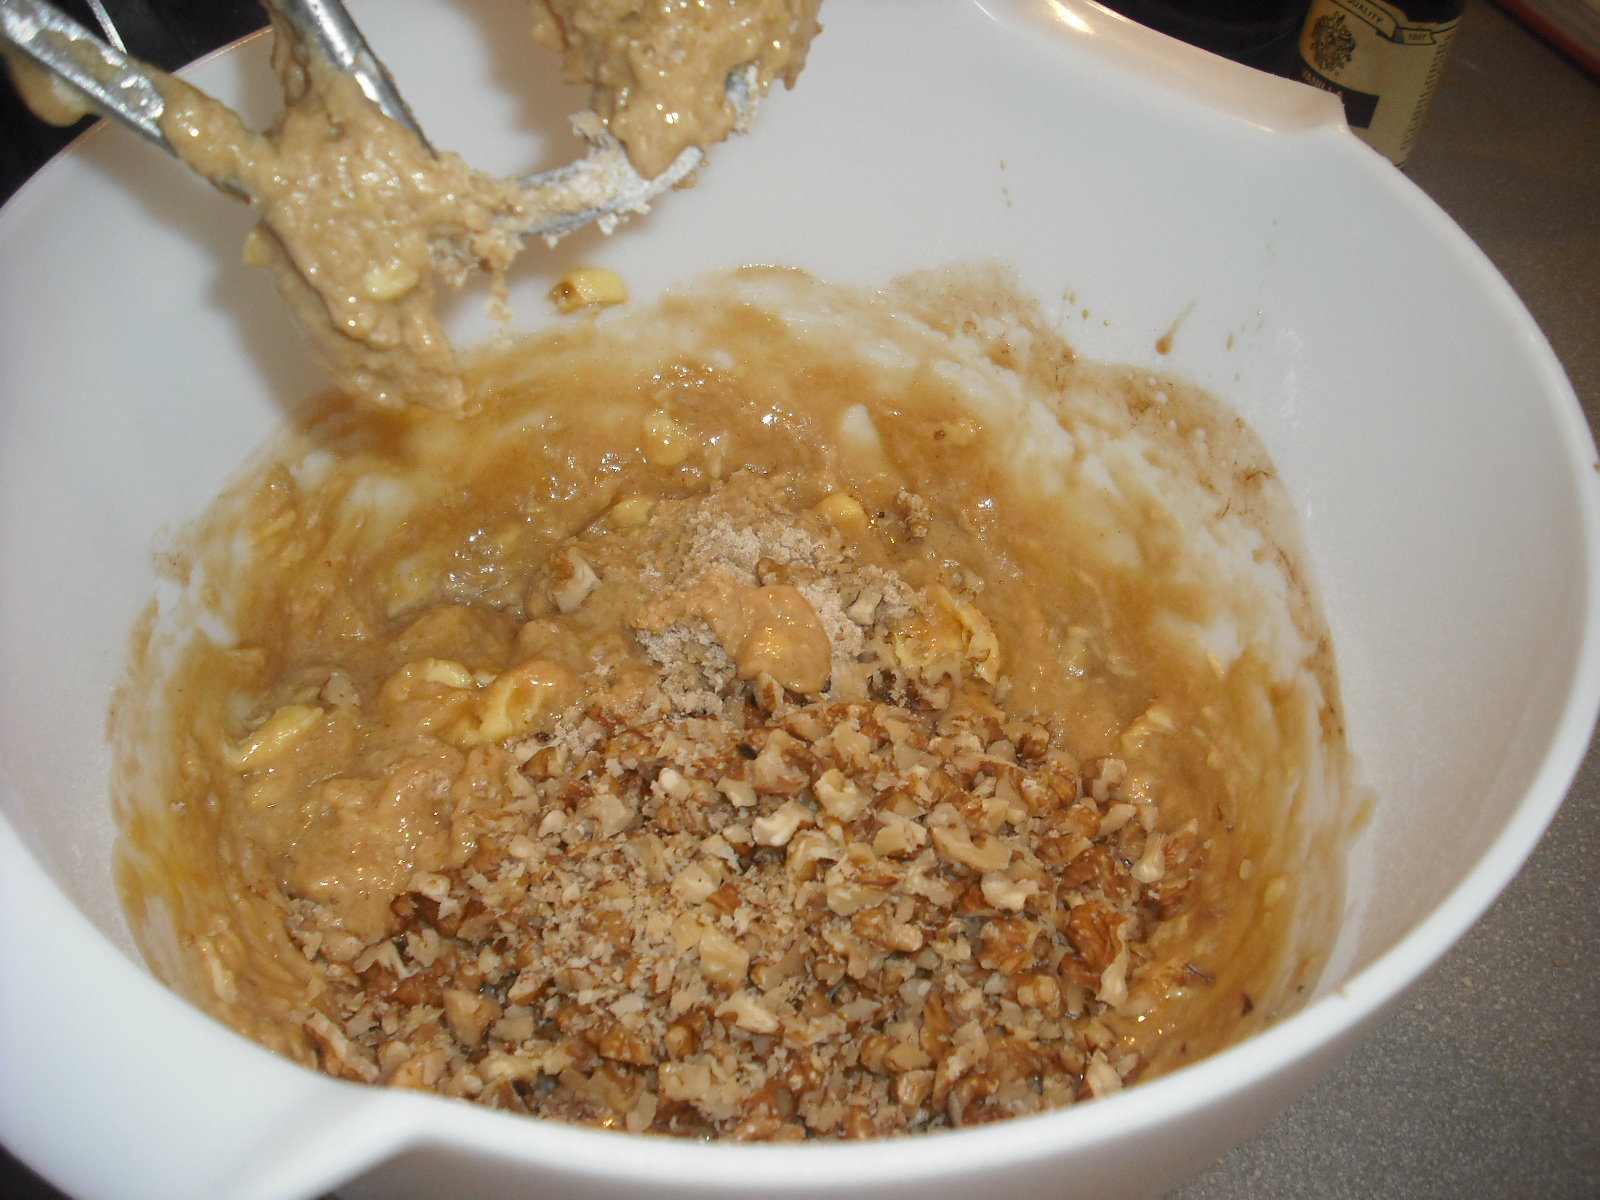
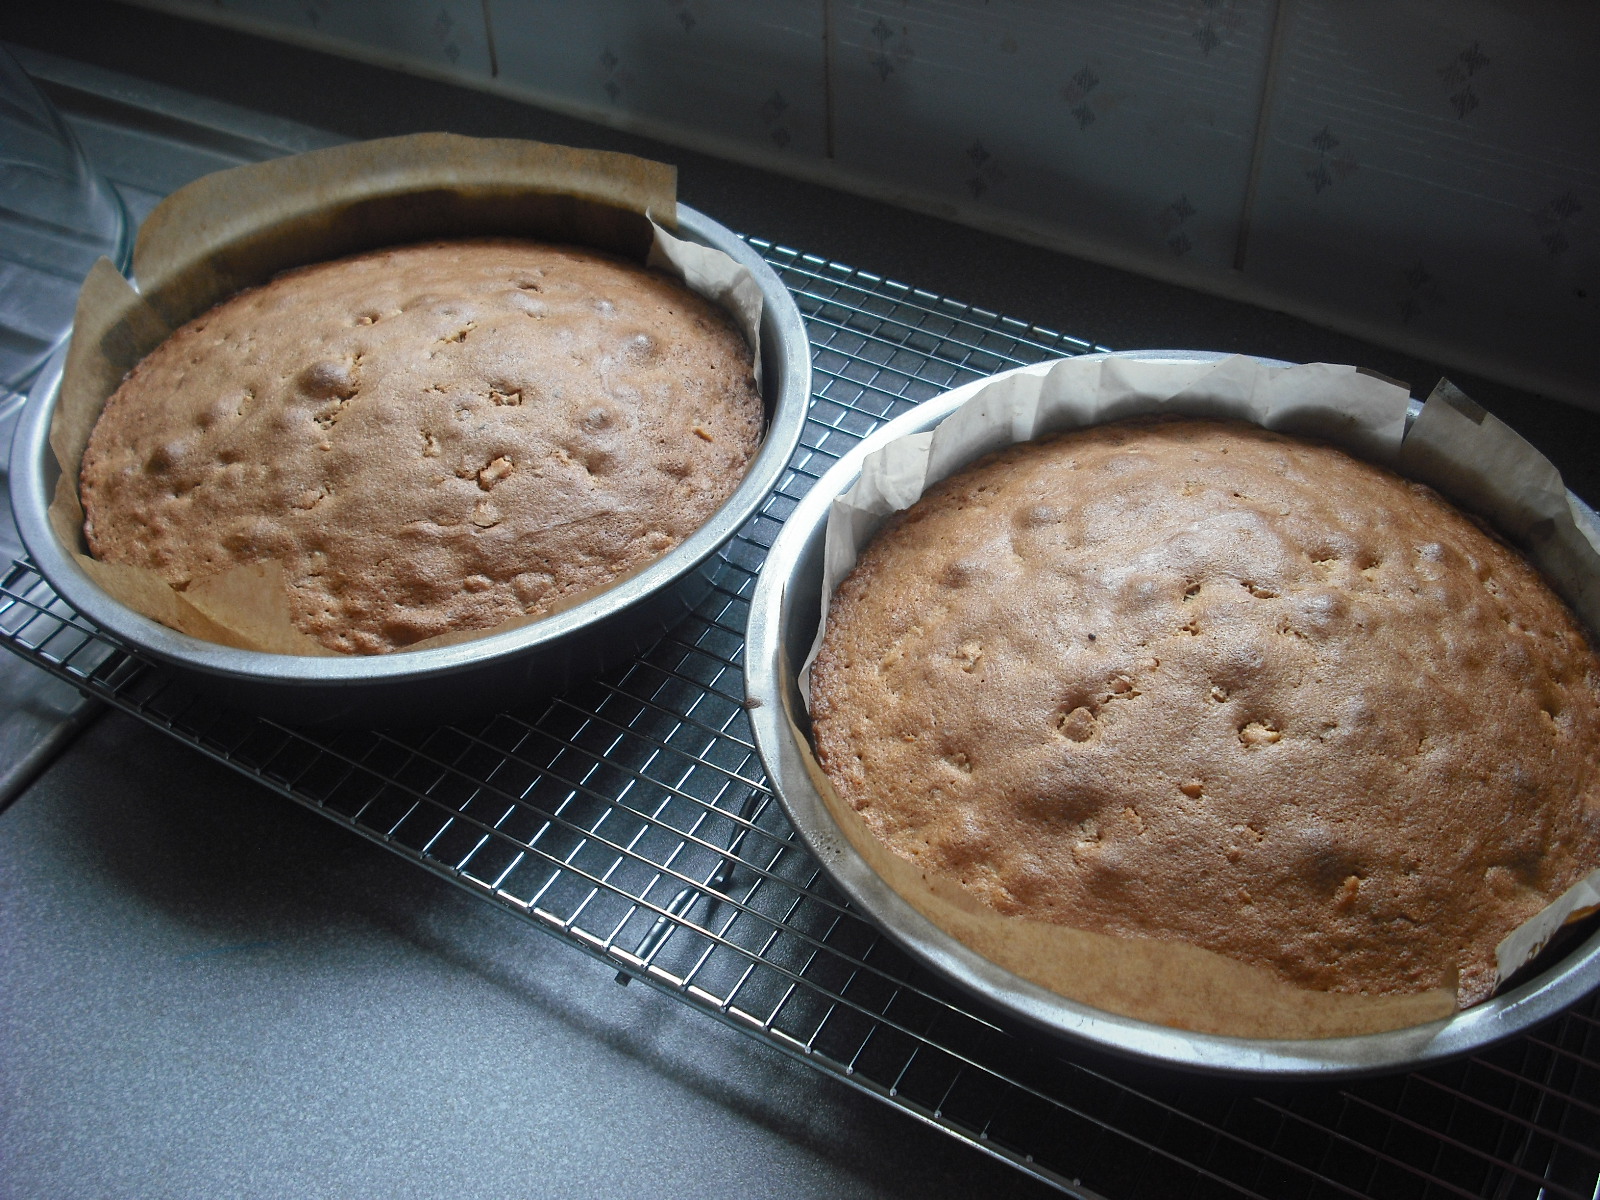
Then flour, sugar and baking powder are mixed to combine, adding the butter, eggs, vanilla extract, prepared coffee and chopped walnuts. All this is beaten well then divided into the prepared tins and put in the oven for about 25 minutes.

Just before the cakes are ready a coffee syrup is made with instant coffee, sugar and hot water. Once the cakes come out they are brushed whilst hot with the coffee syrup. After five minutes the sponges are taken out of the tins to cool completely.

coffee syrup soaking into hot sponges
Finally, the coffee buttercream is made with icing sugar, butter and one more tablespoon of coffee powder in hot water. These are beaten together very well.
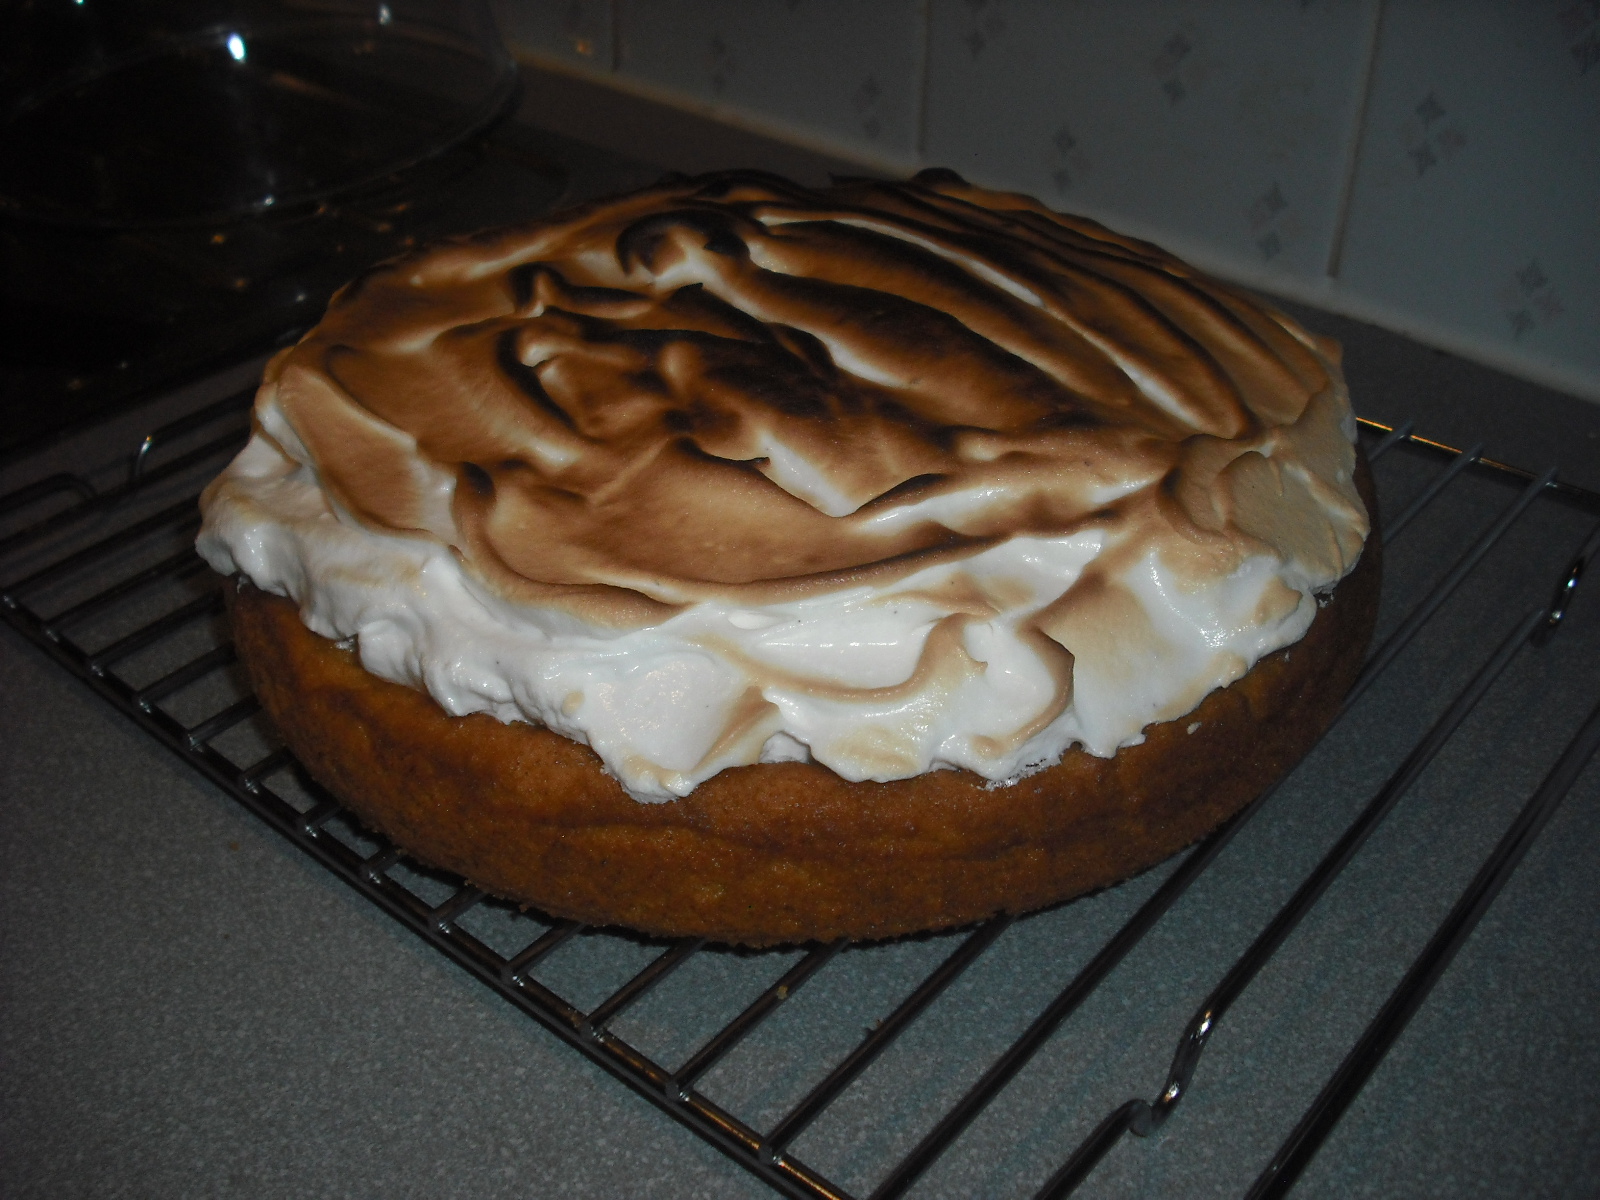
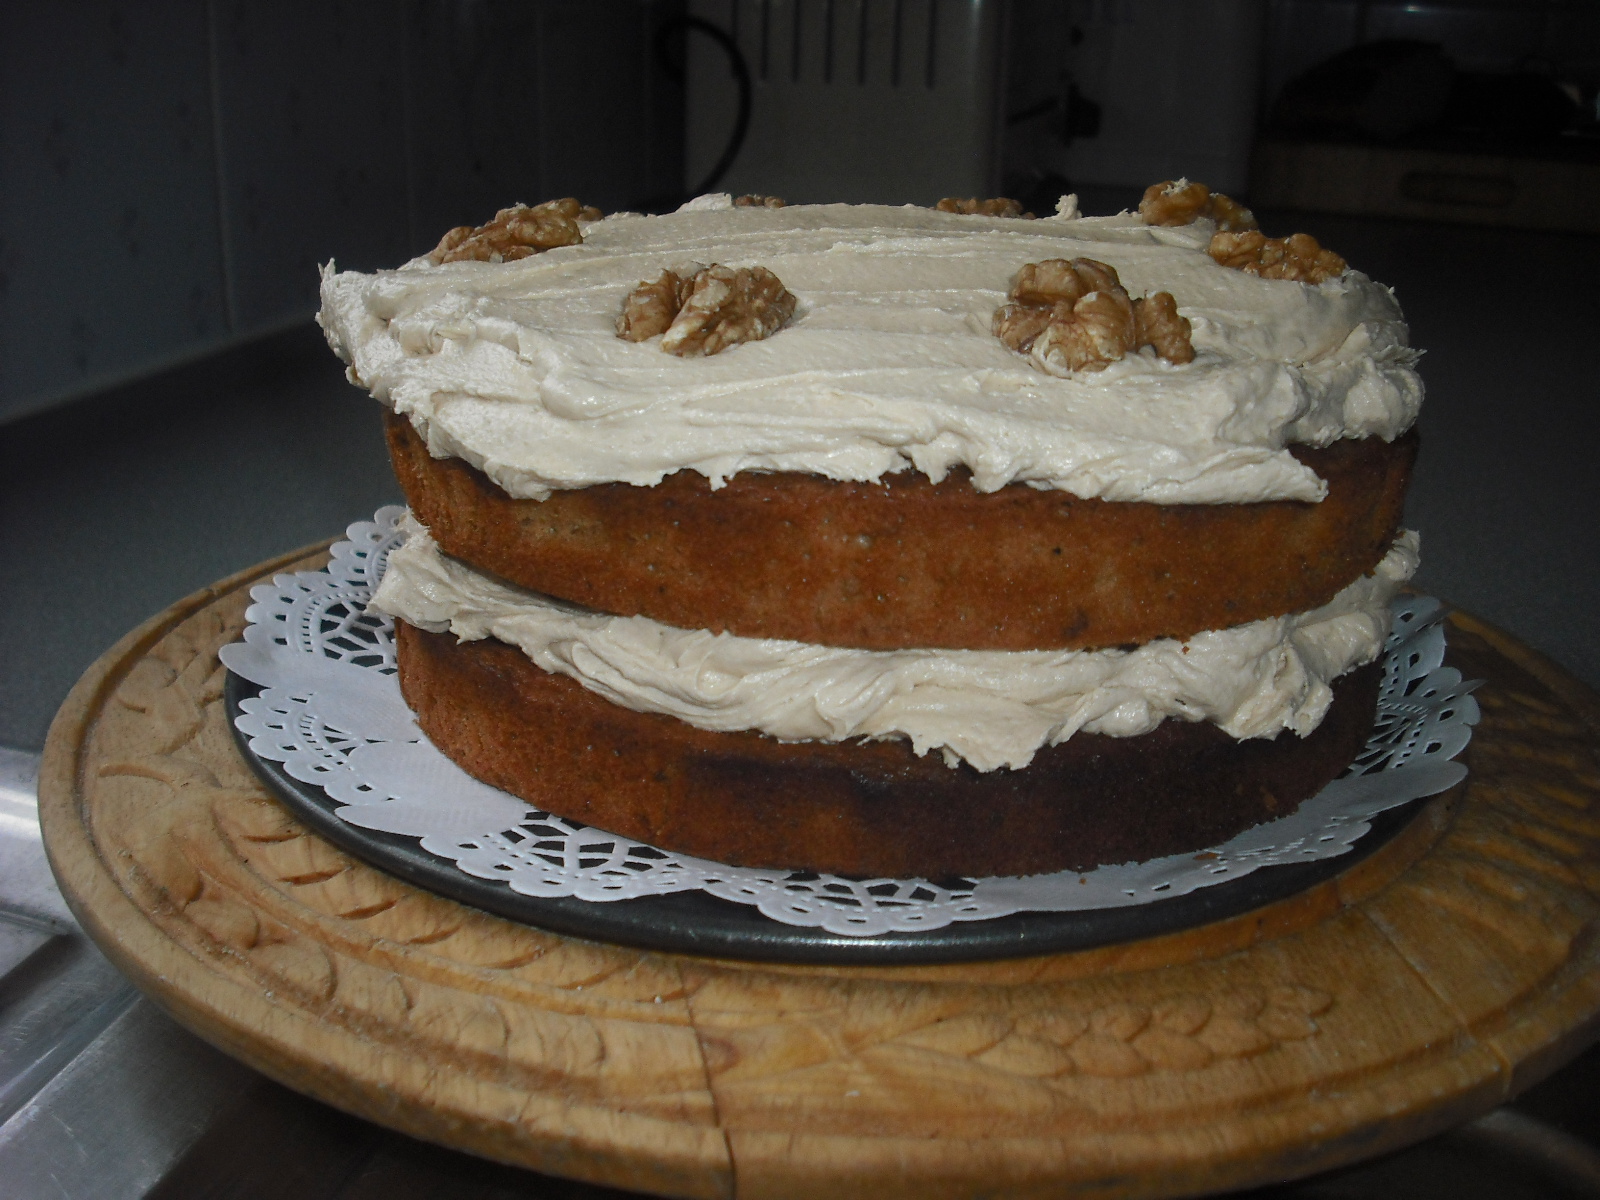
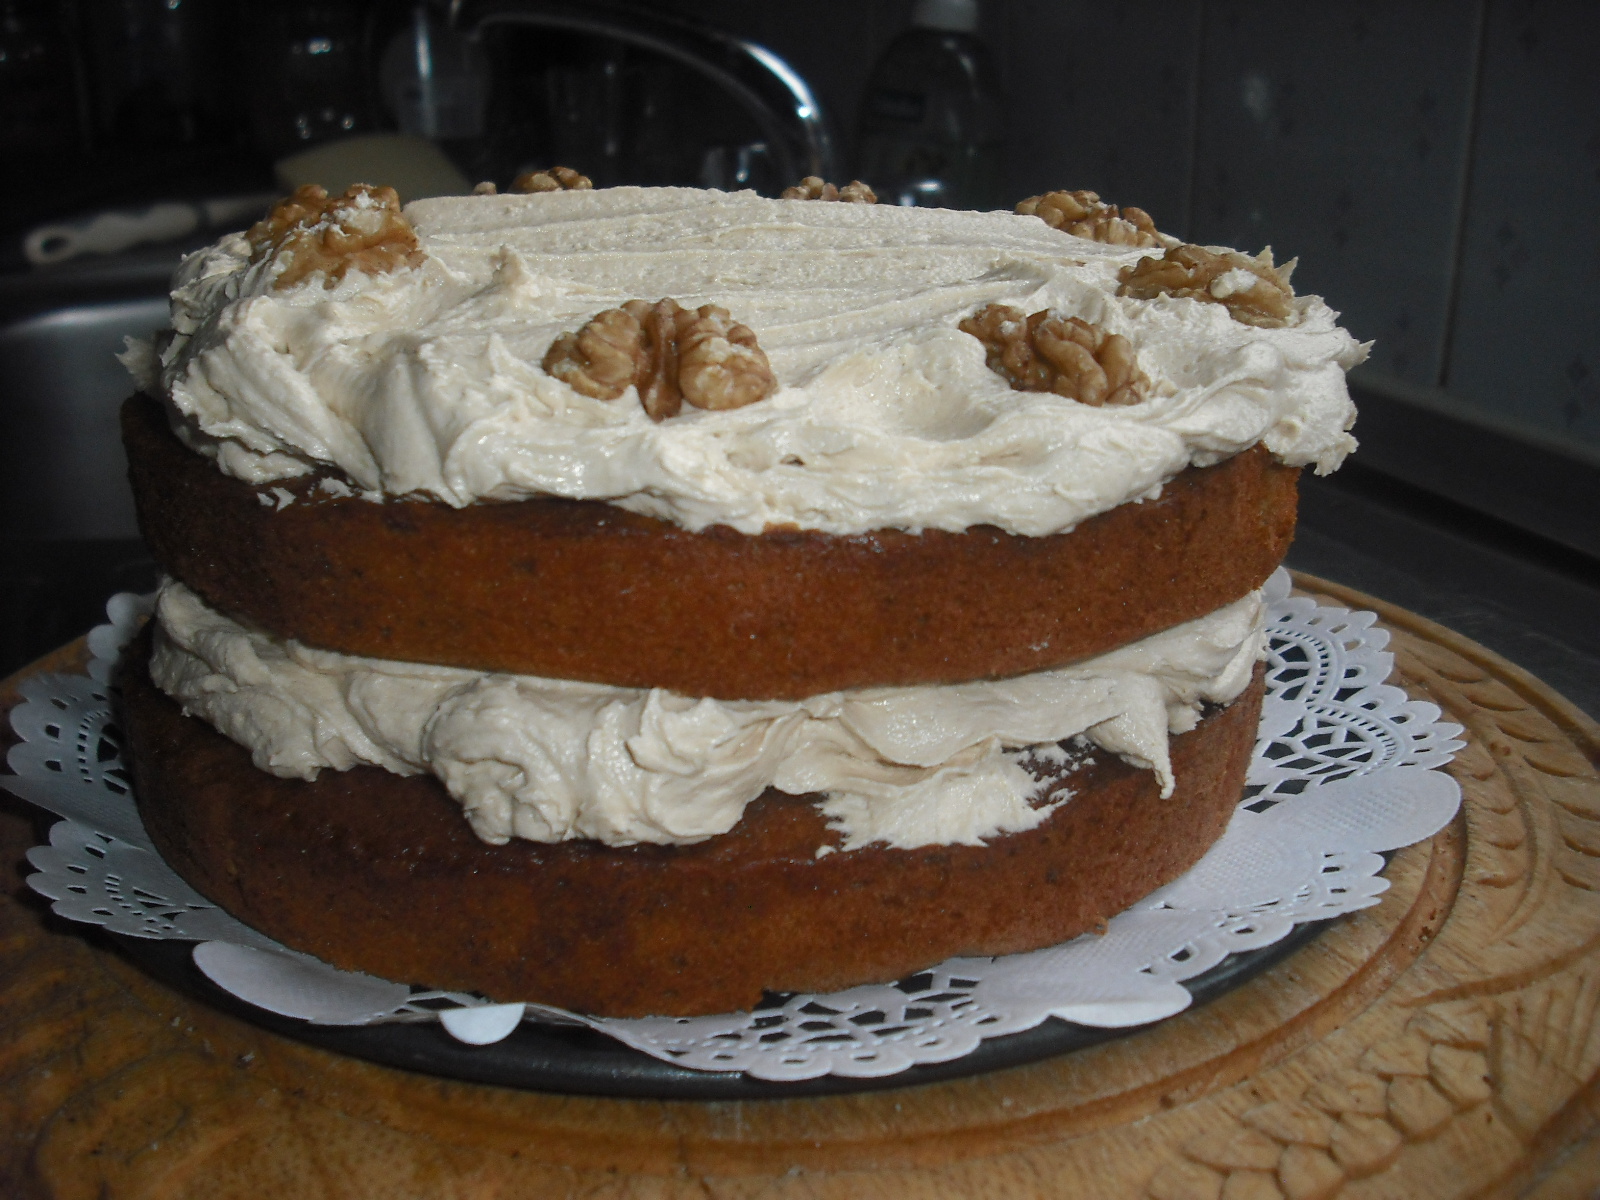
All that is left to do is assembly. One sponge, one layer of buttercream, the other sponge on top and then the rest of the buttercream is spread liberally on top. Walnuts are added for the traditional decoration.


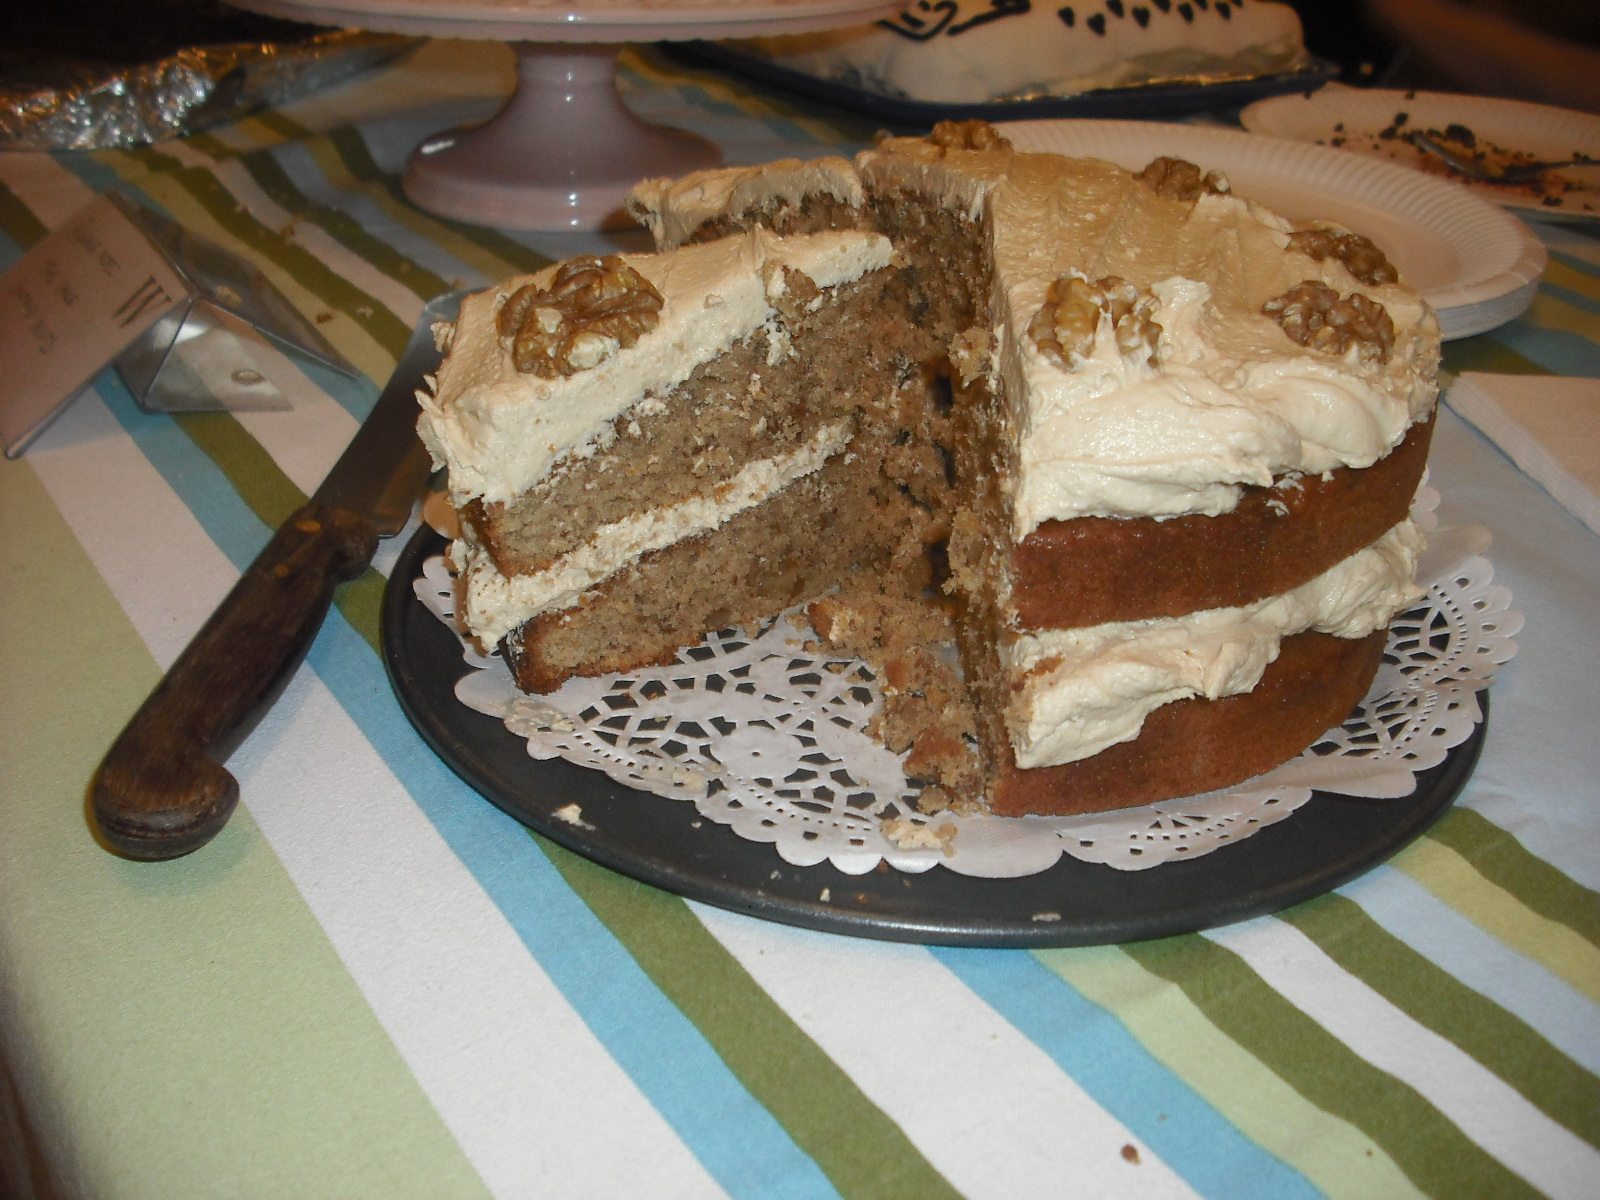
Then nothing left to do but dive in.

( need a cake fork ... )

For afternoon tea, this cake is delectable but what better accompaniment could you have with your morning coffee too?

Verdict: Addictive cake for coffee lovers. A true coffee flavour rather than the usual coffee-ish flavour that most coffee cakes produce. It is light in texture, the buttercream and walnuts equally balancing creamy and crunchy textures, the overall mouthful being one harmonious coffee/sweet delight. Did I like this cake? What do you think?

coffee, vanilla & walnut cake
Fast, Fresh and Easy Food, Lorraine Pascale, HarperCollinsPublishers, London 2012

Sunday, 10 February 2013

tart au pamplemousse et poivre meringues


This lovely book was purchased in 2012 after the TV series; how could I not buy it? Rachel Khoo's easy and unfussy approach cooking her own take on classic French recipes is such a inspiration to get in there and start cooking. Fulfilling a dream (every cook's dream?) of studying at Le Cordon Bleu in Paris, Rachel soon went from graduation to tutor to cook book writer to TV star. It is her lifestyle, her love of food and her very down-to-earth approach which has won her many fans, me included. So flipping through her book, the question is only which recipe to start with?

First it was the 'pepper meringue' in the heading of this recipe that made me stop. Then it was the image of what looked like sponge, oozing curd topped with a thick meringue. But that weird addition of pepper in the meringue ... Quoi?! But what finally got me in was that wonderful French word for grapefruit - pamplemousse. There always comes a point when I am deliberating about what to bake or eat where I suddenly know what I want. C'est tout! What does grapefruit and pepper in meringue taste like ... ?

Not unlike the passion fruit meringue tarts I made a couple of weeks ago, this recipe has exactly the same elements, but with a biscuit base which looks sponge-like and a curd which should be soft and oozy but not set as a mousse in my pasionfruit tart recipe. I happened to have bought a bag of pamplemousse at le supermarche yesterday, and I had all other ingredients already. Excellent.


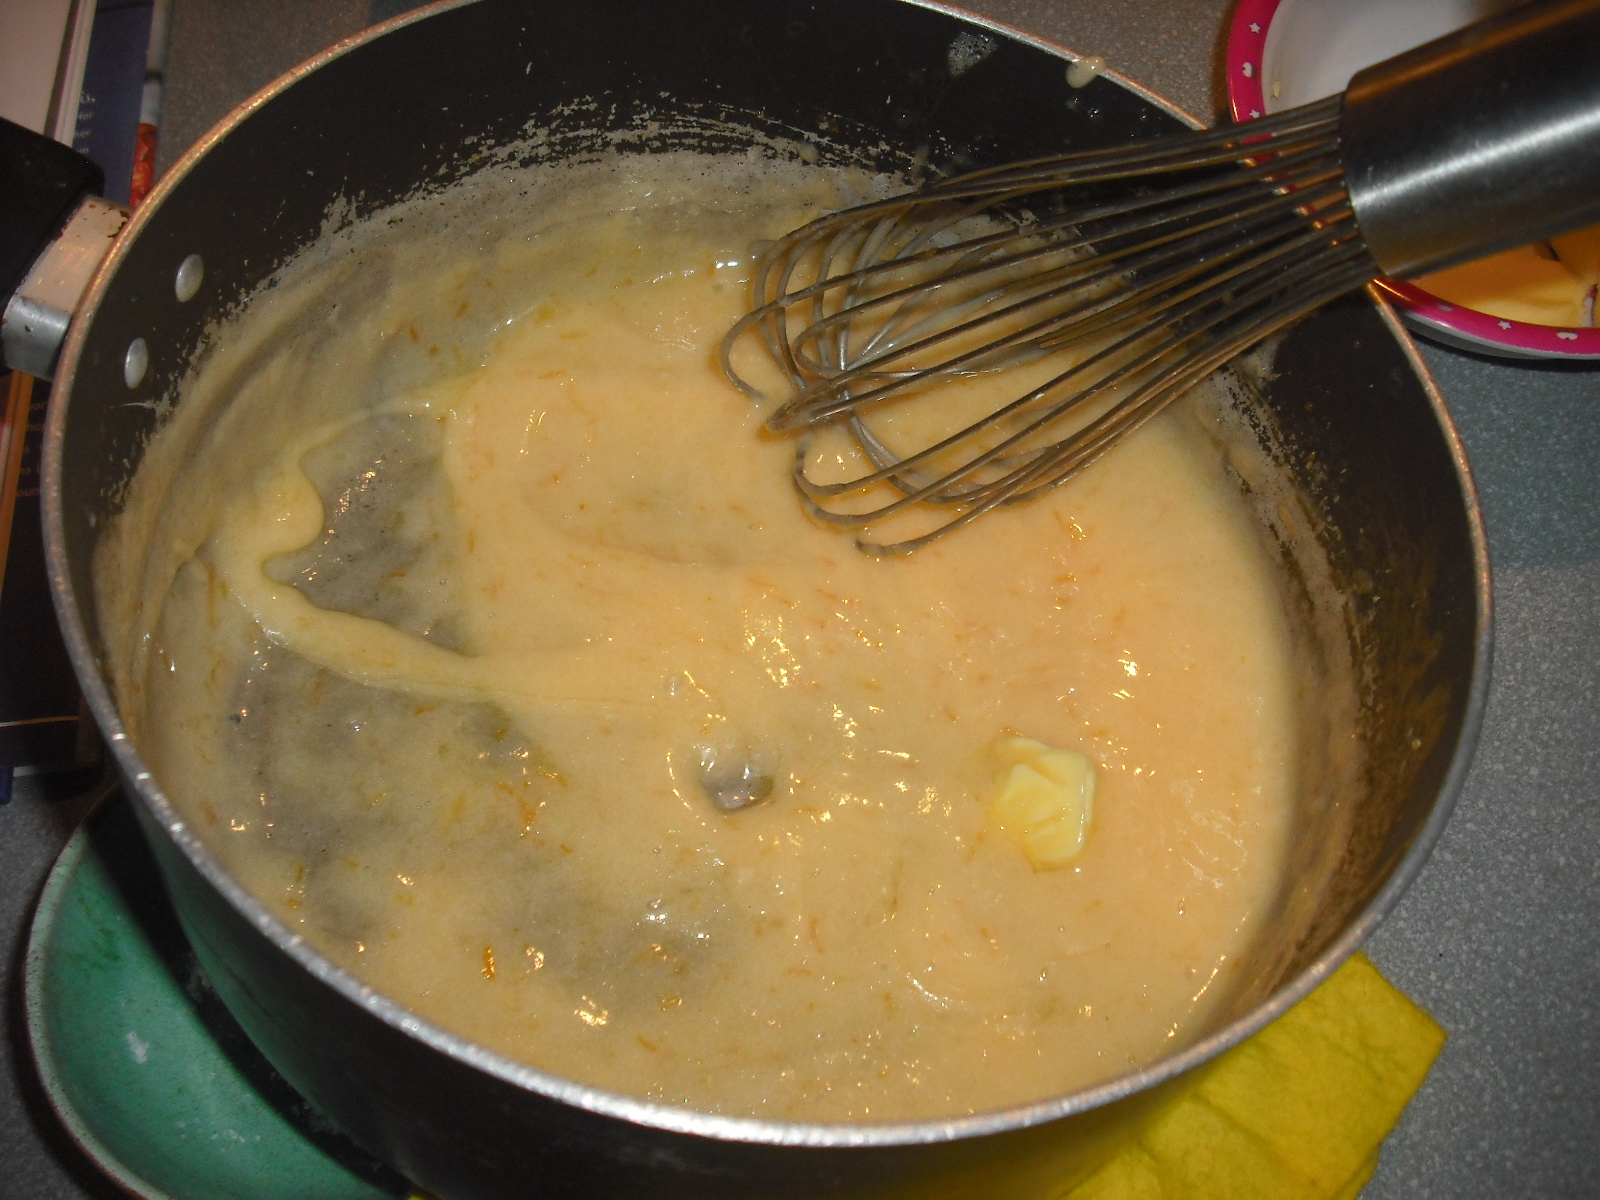
First the grapefruit curd. Un pamplemousse was zested (is that a word?) and juiced, and was heated and whisked in a saucepan with sugar, salt and an eggs over a gentle heat. Then sifted corn flour was added and whisked in. At the bubbling stage, the saucepan was taken off the heat and then cubes of butter were mixed in. Finally the curd was poured into a bowl, plastic wrap covered and refrigerated overnight.


I preheated the oven to 180 deg C. The biscuit base was made creaming butter and sugar with salt and lemon zest until it was fluffy and pale. Egg yolks were added with more beating.


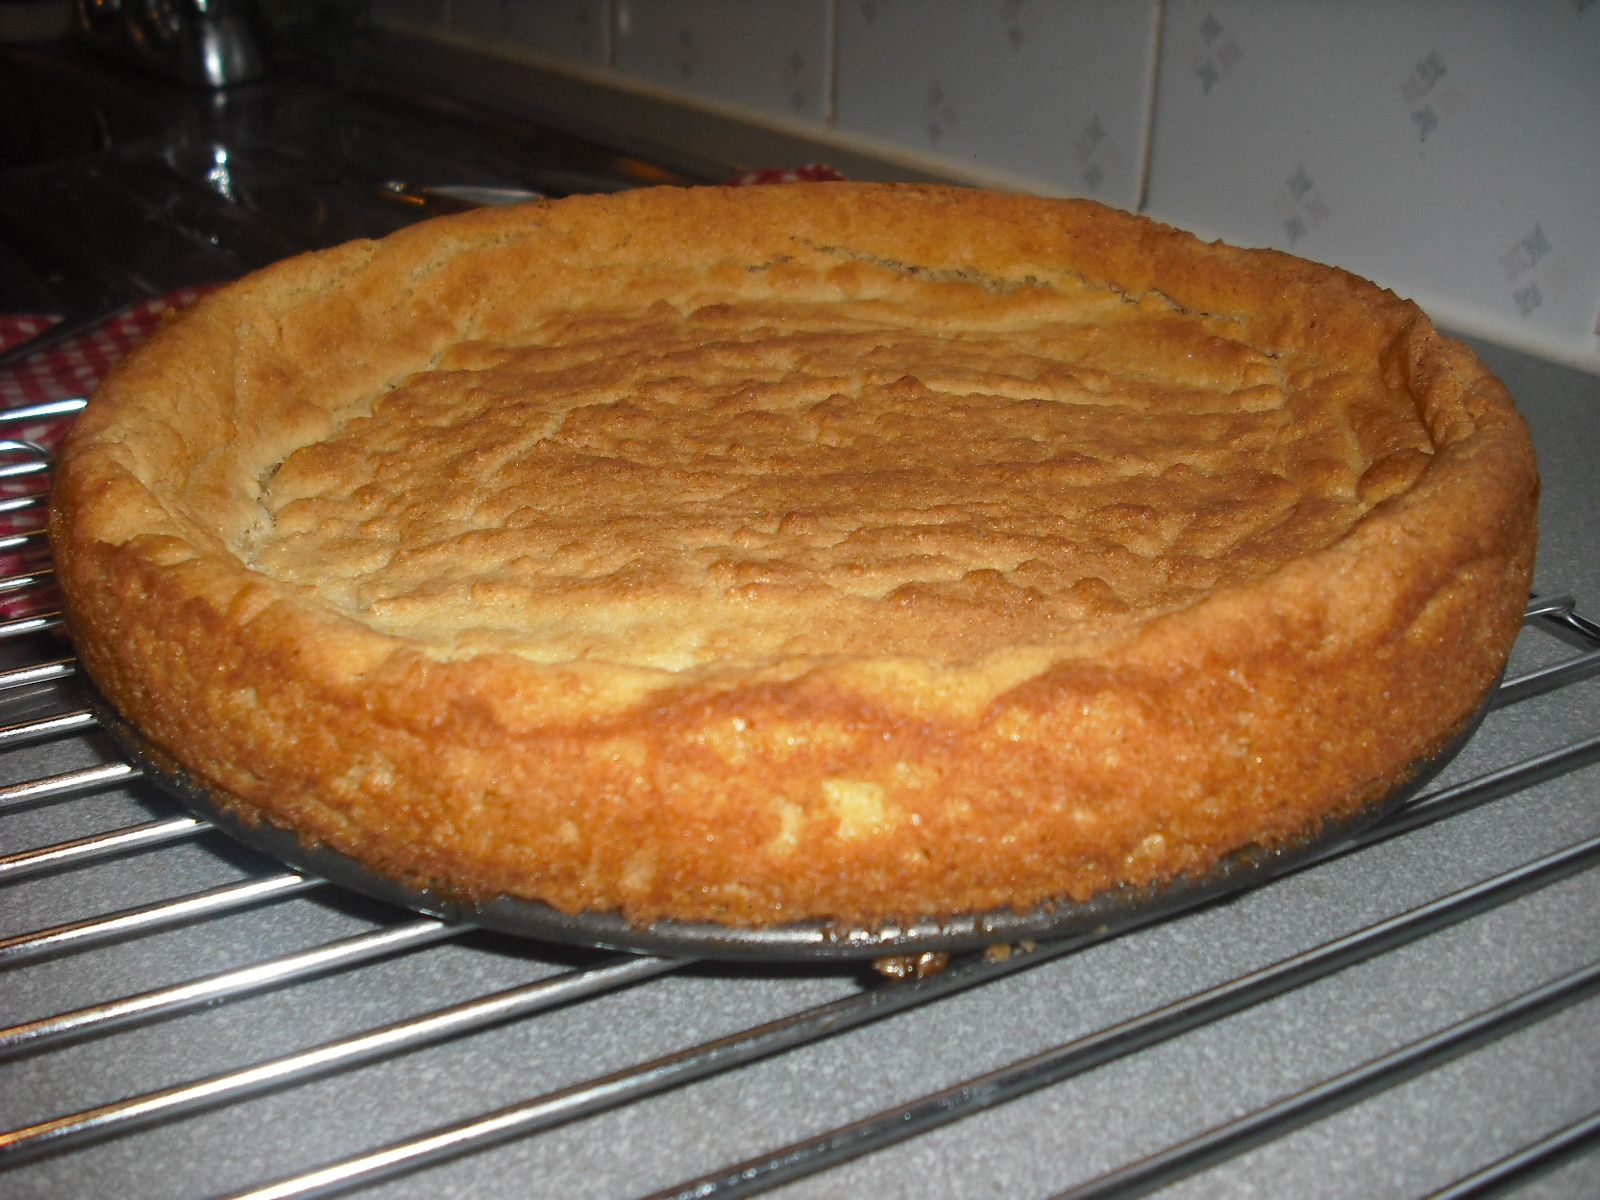
Sifted flour and baking powder were added to the creamed mixture until a smooth paste formed. I made one large instead of 8 small tarts, so the biscuit base was spread in a spring form pan, then baked for approx 20 minutes.


To make my favourite, Italian meringue, I poured caster sugar into a saucepan with water and placed it on a high heat and it was brought to the boil - at 118 deg C (how I do this without a thermometer, I don't know but I seem to guess correctly).
sugar and water to make sugar syrup

 
Then meringue was made whisking the egg whites until soft and then when the syrup had cooled I poured it carefully down the side of the bowl before it could hit the beaters. It was now I added the pepper. Then about 8 minutes whisking produced gorgeously fluffy meringue which I could have eaten then and there, but refrained.
 
There was just the assembly (sans image which I forgot) to complete once the biscuit base had cooled. The pamplemousse curd was spread over it, and then the meringue which was so gorgeous and fluffy it was almost like marshmallow. Under the grill it went for not even two minutes, and here's the result.

 
Once it had cooled ...
(need a proper cake fork)
 
 
The Verdict: Very very good and surprising. Overall, sweetness meets bitter, with a touch of sour and then marshmallow sweetness with pepper! I especially like the base which is a traditional Breton biscuit base, which didn't need chilling or rolling. The addition of the lemon zest in the dough married well with the bitter grapefruit curd which was creamy sweet at the same time.
 
There are so many more recipes yet to be tried from this delightful book.
 
Grapefruit and pepper meringue tart
The Little Paris Kitchen, Classic French recipes with a fresh and simple approach Rachel Khoo, Michael Joseph, London, 2012

Sunday, 3 February 2013

Finally, sourdough baking

This morning, after 12 hours' retarding of the sourdough loaves, they were ready for the final proving (see yesterday's post). In order to create a warm, humid environment for their final proving I turned on the heating, the oven and put a pan of water on the stove to simmer away, creating the necessary steam. Here's what the loaves looked like before final proving:
Ready for final prove after 'retarding' in cold environment overnight
The final prove took 4 hours. Testing the dough was done by gently poking it to see if it sprang back fairly quickly and it did - hooray! I was so excited to put them into the oven that I forgot the final step - I didn't score the tops of the loaves!! Scoring means slashing the dough quickly down the middle with a scalpel to open up the dough so it can 'bloom' or rise fully. Here's how they looked before being put in the oven (minus the scoring!).
after final prove - ready for the oven
The recipe stated to preheat the oven to its highest setting and when the loaves were put in to spray them with a fine mist of water to stop the crust from forming too quickly. I could not find my spray bottle, so I put a shallow pan of water in the bottom of the oven and this simmered for the entire duration of the bake.

After 20 mins I turned the trays around and swapped shelves so that all loaves baked evenly. At this stage I could see that they were baking more in some spots than others, so this step was vital.  Finally, after another 10 mins of baking, I decided they smelled ready and looked almost burnt and should come out. Indeed, one of them was a bit overdone, but when I cut into it, it was fine.
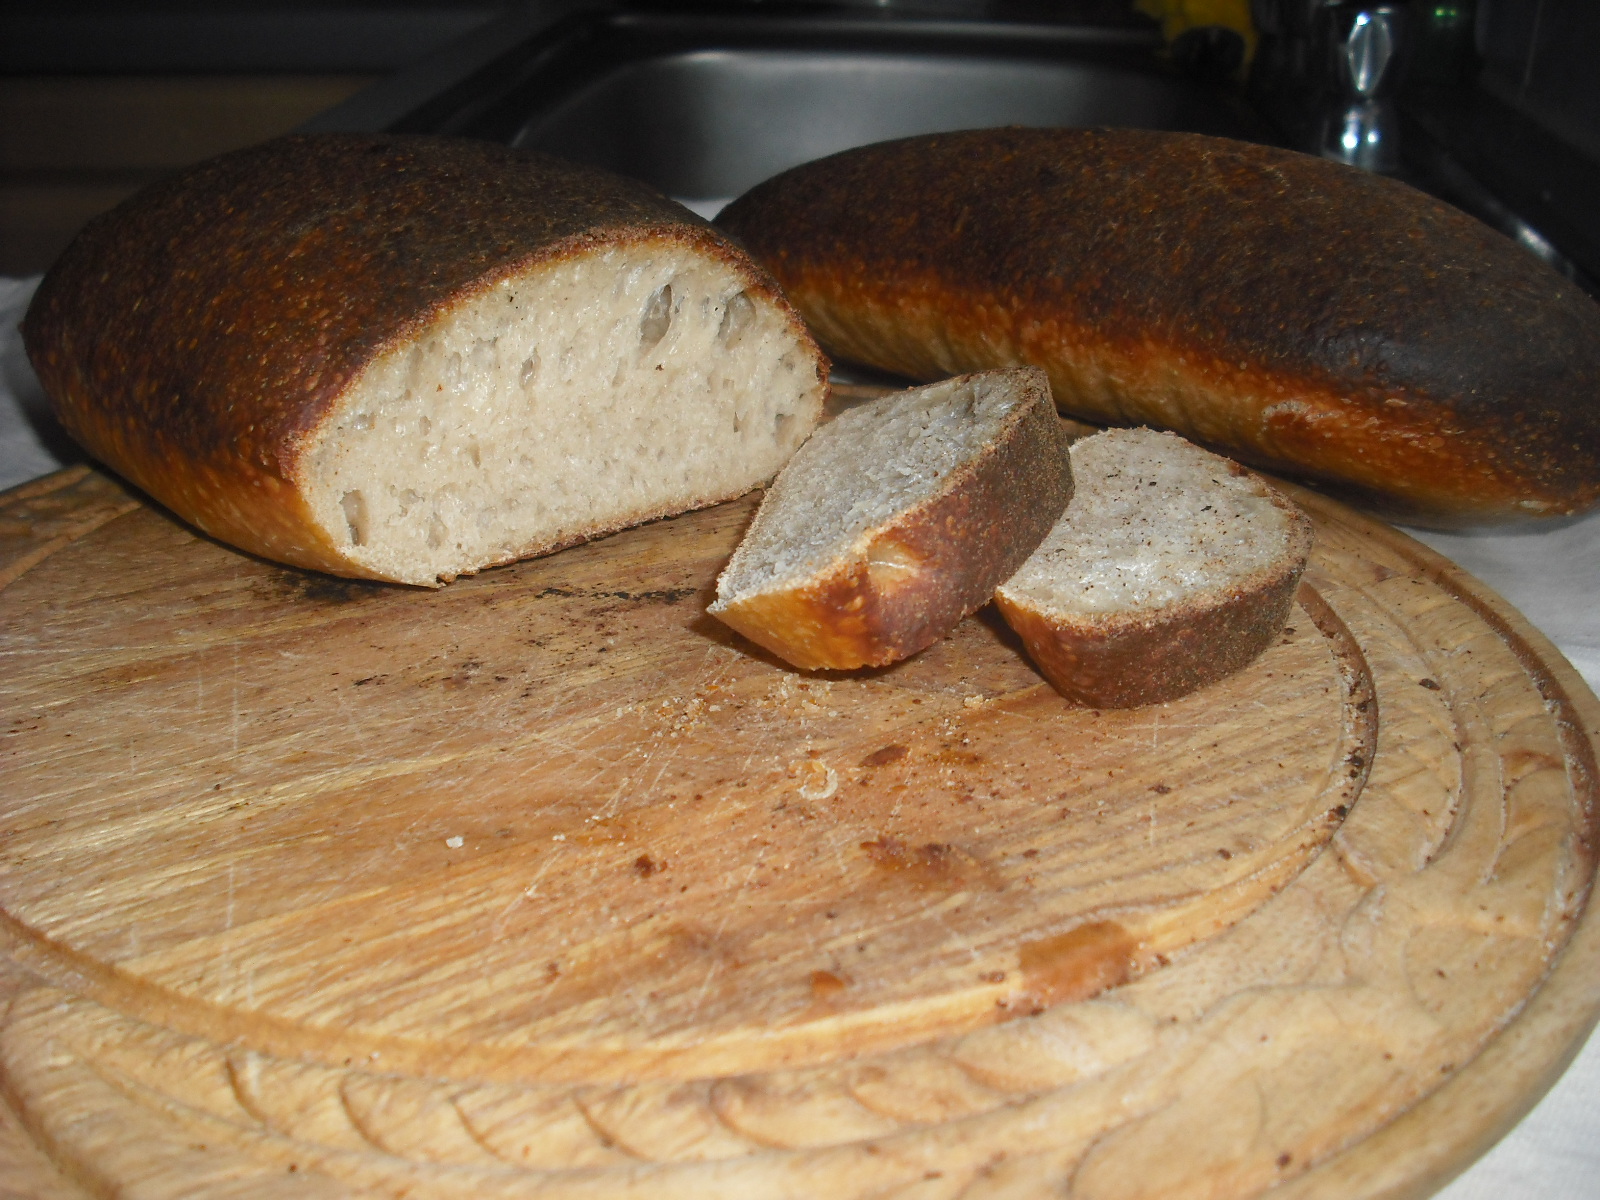

Here's the final result, and I must say, I was thrilled. It was cooked, the bottom was not soft and the best part - look at all those lovely holes!!!


Now for the moment of truth - the taste test. I am thrilled to report it was just so delicious. It was tangy, chewy and so very moreish. I had the first two slices with just butter and it was enough.

the taste test - only butter needed
Except I needed a cup of coffee and thought that apricot jam might be nice ...
the final taste test - with apricot jam
Verdict:
I am so inspired to keep my sourdough starter going for a long time and make sourdough on a weekly basis. After all, a lot of effort went into making the starter and now I have one established I intend to use it.  (Sourdough starter can even be frozen, so I put 100g in the freezer for the time I might need it).

The Bourke Street Bakery's by-line says it is the 'ultimate baking companion', and after really studying it I can vouch for that claim. The book starts off with 20 pages on 'before you begin', all about ingredients and equipment. Then there are nealy 20 pages on bread, different stages and techniques, all very detailed. The bread section alone has close to 40 pages on sourdough and derivative breads and then a further two chapters on yeasted and olive oil breads (which I am going to try). Then a large section on pastries, and a final section on cakes, biscuits and desserts.

Highly recommended.